Ginger Turmeric Stir-Fry

Comment

Ginger Turmeric Stir-Fry

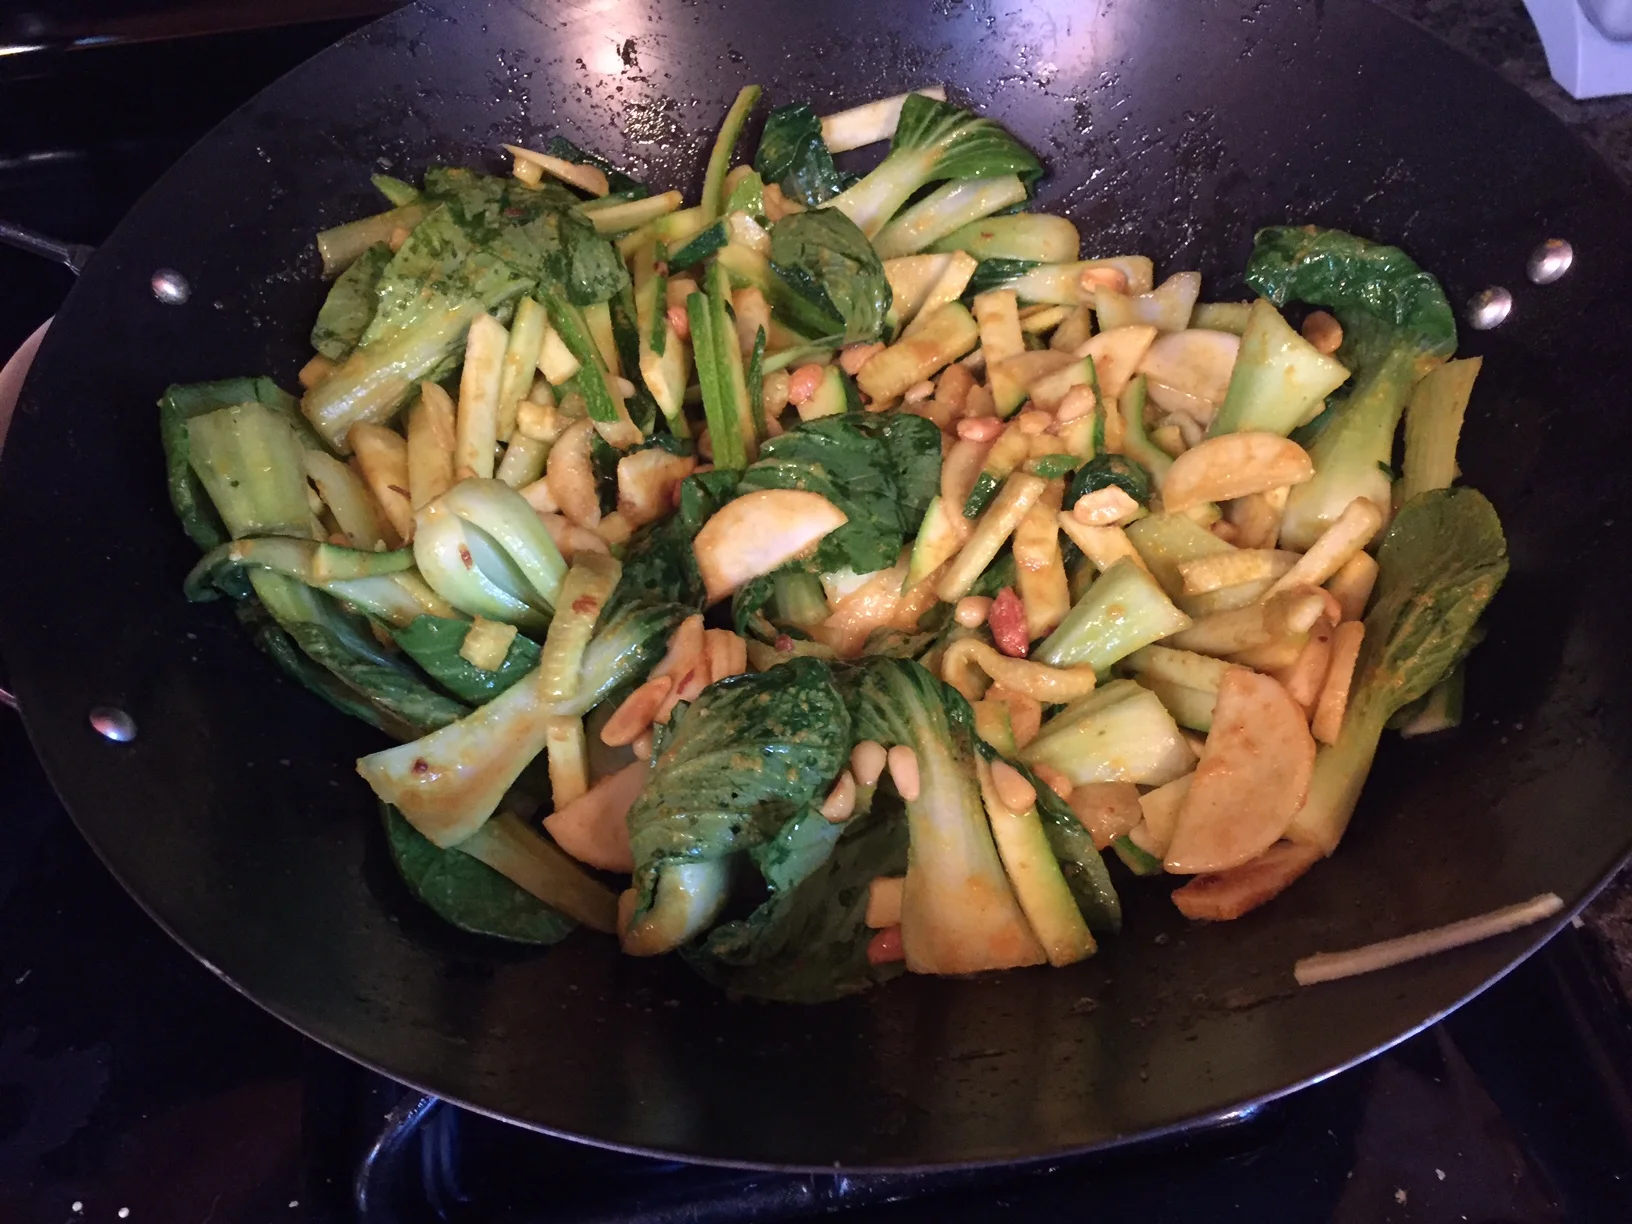
Before I used a wok I never understood the magic of the wok. I can't explain the magic, but it comes through in every stir-fry. 

Ginger Turmeric Stir-fry

2 TBSP Coconut, Sesame, or Peanut Oil
1 Bunch Hakurei Turnips
1 Bunch Baby Pac Choi
1 Small Onion
1 Zucchini
1 TBSP Freshly grated or Ground Ginger
1 TBSP Ground Turmeric
1 tsp Salt
1/2 Cup Peanuts or Cashews
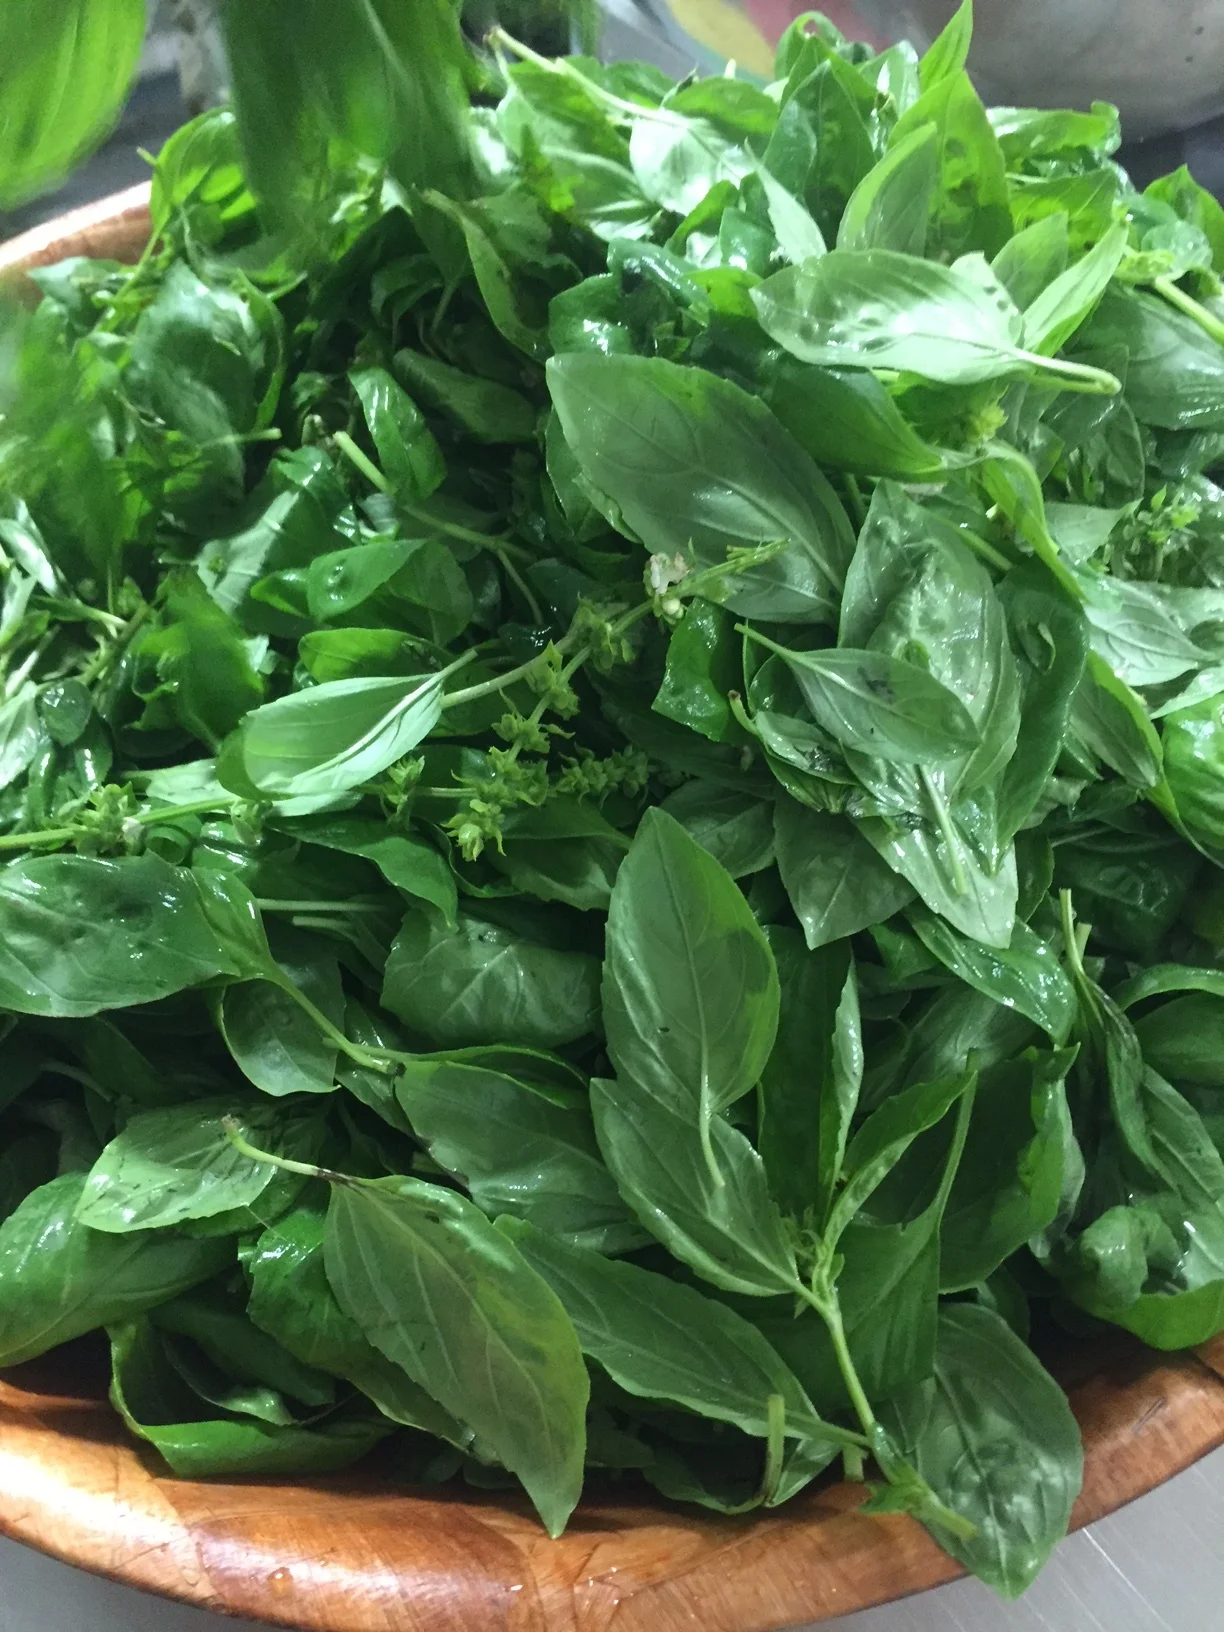
1 Bunch Cilantro (optional)
1 Bunch Scallions (optional)
2 cups cooked Jasmine Rice
1 lime

Start the rice according to package instructions. My jasmine rice takes almost an hour, so I will often set this first thing after work, take a shower, and then start prepping the rest of the meal.

Heat 2 TBSP Coconut oil in a wok over medium heat. Add the chopped onion and peanuts. After the onion begins to soften, add 1 TBSP ginger and 1 TBSP tumeric. Stir in so the herbs and the oil create a light paste over the onions. Once mixed in, add the zucchini, pac choi, and hakurei turnips. My goal is to have some crunch left in the zucchini, pac choi stems, and turnips, so I like to let them cook for about 5-7 minutes.

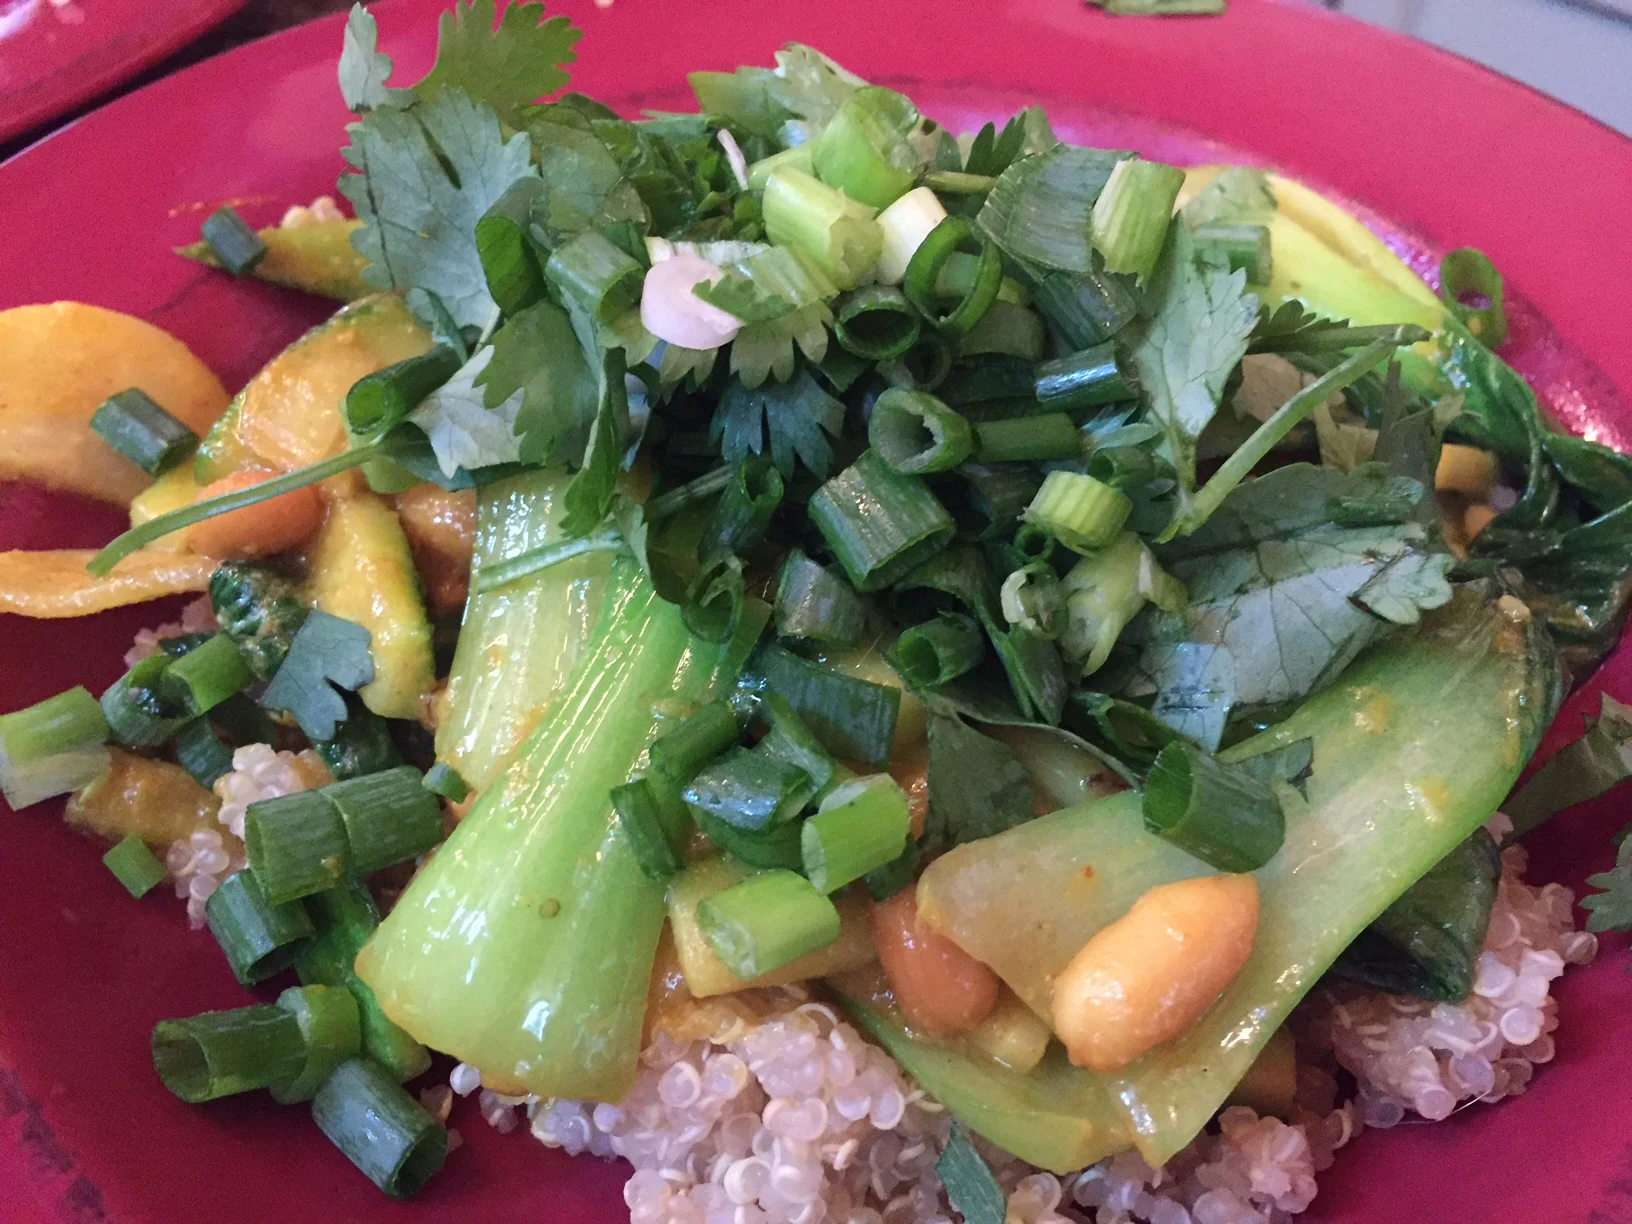
Chop cilantro and scallions into a bowl. Serve your plate with the veggies over the rice, and the fresh herbs over the veggies. Adding a touch of crushed peanuts to the top and a wedge of lime will finish it off nicely.

Comment

How to Carve a Chicken

2 Comments

How to Carve a Chicken

There are countless ways to cook a chicken. Roast it, grill it, stuff it, brine it. But the best way to finish off any bird is by carving it simply and effectively. You only need 2 knives to do this correctly. A sharp, small, boning knife will be the best tool for the majority of this procedure. A sharp chef's knife is useful for slicing the breast.

1) Check Done-nessWhen the breast reads 165 degrees F, remove the legs. Take the bird onto a cutting board, and cut along the thigh where the leg connects to the bird. When you get down to the bone, cut the joint between the thigh and the body while…

1) Check Done-ness

When the breast reads 165 degrees F, remove the legs. Take the bird onto a cutting board, and cut along the thigh where the leg connects to the bird. When you get down to the bone, cut the joint between the thigh and the body while pulling back on the drumstick. Put the legs back into the cast iron/grill/oven/stovetop until they too read 165 degrees.

2. Allow to Cool. Let the bird rest at least until the legs are finished cooking. This will prevent the juices from leaving the bird, and will help keep the breast juicy. After at least 20 minutes, cut a straight line down the spine. You will be cut…

2. Allow to Cool. Let the bird rest at least until the legs are finished cooking. This will prevent the juices from leaving the bird, and will help keep the breast juicy. After at least 20 minutes, cut a straight line down the spine. You will be cutting one on each side. You will then move on to the wings to allow the breast to cool a bit.

3. Wings. Gently pull back the wings so you can see the seam where they connect to the body of the bird. Cut along that seam until you can see the bone. Then gently cut the joint between the bones while pulling back on the wing with your nondominant…

3. Wings. Gently pull back the wings so you can see the seam where they connect to the body of the bird. Cut along that seam until you can see the bone. Then gently cut the joint between the bones while pulling back on the wing with your nondominant hand.

4. The Breast. Cut along the side of the spine while pulling back with your fingers. Your goal is to do a combination of pulling and cutting to release the breast in one large piece. 

4. The Breast. Cut along the side of the spine while pulling back with your fingers. Your goal is to do a combination of pulling and cutting to release the breast in one large piece. 

Here you can see the right side of the bird, which has already been carved, and the left side of the bird, where the breast is almost fully off of the body.

Here you can see the right side of the bird, which has already been carved, and the left side of the bird, where the breast is almost fully off of the body.

5. Finish. Once you have cut the breast off of the bird, you will take a larger chef's knife to finish. Cut against the grain with even spaced slices. Once you have cut the breast, scoop the entire sliced piece onto your knife, and gently place it o…

5. Finish. Once you have cut the breast off of the bird, you will take a larger chef's knife to finish. Cut against the grain with even spaced slices. Once you have cut the breast, scoop the entire sliced piece onto your knife, and gently place it on your serving platter.

2 Comments

1 Comment

Cooking with the Crew: Scallion Pancake

When I was a kid, the only thing I would eat from the Chinese take-out place in my town were scallion pancakes. I still love them today, and I even see versions of them at local farmers markets. Some places make them looser, more like a batter, and wrap them around eggs (just add more water and stir in the green onions instead of knead them in). I still love them stiffer,  blistered on top, flaky on the inside. I find they are a great addition to meals, similar to a biscuit or pita.  

Scallion Pancakes

4 cups flour, plus more for dusting (I used 50% sprouted wheat, 50% all-purpose)
4 tsp kosher salt
peanut, sesame, or vegetable oil
1 teaspoon red pepper flakes
2 cups chopped scallions and/or green onions
2 cups hot water

Add 4 cups of flour to a large bowl. Slowly work in one cup of hot water, incorporating 1/4 cup at a time. Stop when the dough is sticky, but still thicker than a batter.

Divide the dough into quarters.

Roll or knead each piece of the dough while mixing in the salt, red pepper flakes, scallions/green onion, and a few teaspoons of oil. I like to add a few, roll the dough into a ball, add a few more, roll it into a log, add a few more, coil the log, add a few, and roll it back into a ball. Try to keep the oil on the inside of the dough (make a depression, add a bit, and roll it in) to keep the rolling surface clean.

When you are done rolling the dough (no more than 10 min or the dough will stiffen), flatten the balls into 8-9" wide circles.

Heat oil in a large skillet. Pan fry each side of the pancake for 3-5 minutes per side.

Dipping Sauce
Mix together 1/2 cup soy sauce, half of the chopped green onion/scallions, i tsp sriracha, and 1 tsp honey or maple syrup. A splash of lime juice never hurt anyone either.

1 Comment

Cooking with the Crew: Herbed Potato Salad

Comment

Cooking with the Crew: Herbed Potato Salad

1 Pint of Potatoes
Half of one bunch of Radishes or Hakurei Turnips
1 Cucumber
Tops of Green Onions
1 Bunch (total) of fresh Parsley and/or Basil
1 TBSP Butter

Boil the potatoes (or grill them, roast them, whatever you like) until they are fork tender. You won't be cutting the potatoes again, so be sure to cut larger pieces into fractions for even cooking times. Chop the basil/parsley and green onion tops. While the potatoes cooked, drained, and still hot, add a tablespoon of butter and the herbs. Mix in, salt gently, set aside to cool.

Slice the radishes and cucumber as thinly as possible. Whisk together the ingredients in the simple dressing below, and allow the radishes and cucumber to marinade in it until the potatoes have cooled off. Wait until the potatoes have cooled completely, and stir everything together. Refrigerate for at least 30 minutes before serving.

Dressing:
1/3 cup Apple Cider Vinegar
1/4 cup Extra Virgin Olive Oil
1 TSP Stone Ground Mustard
1 TSP Honey or Maple Syrup
Salt and Pepper to taste

Comment

Comment

Cooking with Lupe: Hungarian Cucumber Salad

UBORKA SALATA (U-bor-ka sha-lah-ta)

Peel and slice 2 cucumbers paper thin, so they are limp, use a veggie slicer or mandolin on the thinnest setting.
Place sliced cucumbers in a shallow dish in an even layer.
Pour Hungarian dressing over and marinate at least one hour, but for best flavor marinate overnight.
Sprinkle with a handful of chopped dill.
Salt and pepper to taste.
I love to add some paprika as well, just because I am Hungarian and that's what we do.

HUNGARIAN DRESSING
1/2 cup vinegar ( I use apple cider vinegar)
1/2 cup water
1 tablespoon sugar
1/2 teaspoon salt
dash of black pepper

Blend all ingredients together and pour over cucumbers, the longer they sit, the better they taste.
For a variation, you may add thin sliced sweet onions and marinate with the cucumbers.

Enjoy!

Comment

Integrated Pest Management in OUR HOOPHOUSES

1 Comment

Integrated Pest Management in OUR HOOPHOUSES

What's wrong with aphids? They feed on and stress leafy plants like tomatoes, spinach, and zucchini. Their feeding weakens the plants and makes it difficult for the plants to produce well all season long.

What's wrong with aphids? They feed on and stress leafy plants like tomatoes, spinach, and zucchini. Their feeding weakens the plants and makes it difficult for the plants to produce well all season long.

Last August we presented a blog post about the UVM Entomology Research Lab's on-farm investigation into whether “habitat plants” can sustain predatory insect populations to assist in keeping the aphid population low in our hoophouses. We planted habitat plants at intervals among the tomato plants in one of our heated hoophouses. Each type of habitat plant had a purpose of either providing food, shelter, or reproductive sites for beneficial predatory insects.

Read the full blog for fascinating detail about the types of pests and predatory insects we catalogued last year.

We establish habitat plants consisting of beans, alyssum, borage, marigolds and dill. Last year we found that borage, alyssum and dill attracted the highest diversity of insects, including pests. These pests in turn attracted beneficial insects whic…

We establish habitat plants consisting of beans, alyssum, borage, marigolds and dill. Last year we found that borage, alyssum and dill attracted the highest diversity of insects, including pests. These pests in turn attracted beneficial insects which preyed on the pests and relied on the habitat plants to host a consistent food source for the season. Once in the hoophouse the predatory insects move throughout the plants, finding and preying on aphids throughout the hoophouse crops, thus helping to keep pests such as aphids at tolerable levels for the plants.  Already this season Hannah has seen a good volume and diversity of predatory insects present to help control the aphids.

Juliette, our Greenhouse Manager, with a newly seeded "banker plant" before it was transplanted into hoophouse

Juliette, our Greenhouse Manager, with a newly seeded "banker plant" before it was transplanted into hoophouse

In a second hoophouse we are trying another method of aphid control.  We transplant a succession of “banker plants”, which are bunches of winter wheat grass purposefully "infected" with a type of aphid that is tasty to predatory insects but that does not feed on tomatoes or other vegetable crops (it feeds specifically on wheat grass and a few related plants). The purpose of the banker plant is to sustain the "good aphids" so they can be a consistent food source for predatory insects that feed on all types of aphids. This way when the bad aphids show up in the hoophouse to feed on the tomato leaves, there is an established predatory insect population that preys on and controls the aphids.

Why go through the trouble? We want to grow vigorous, healthy tomato plants and other crops in our hoophouses all season long without having to rely on chemical controls that can be unhealthy for us, for you, and for the many good insects and small animals that inhabit our farm.  Plus it's simply amazing to learn about and watch all the different insects!

1 Comment

Comment

Cooking with Hannah: Braised Parsnips

My favorite way to cook parsnips is to braise them. A little balsamic vinegar balances the sweetness of parsnips pretty well. Nice side dish, along with some fresh JSF greens.

~ 2 lbs of parsnips, peeled, sliced thinly
1/2 cup chicken broth or vegetable stock
1/4 cup balsamic vinegar
1/8 cup olive oil
splash of soy sauce
spices! (I like adding aleppo. I bet it would be good with ginger. Or how 'bout GREEN SHALLOTS!? Whatever you like!)

Put it all in a heavy skillet or cast-iron pan. Bring the liquid to a boil, then simmer until parsnips are soft and liquid has made a yummy glaze.

-Hannah Harwood Doyle

Comment

Sample CSA Shares Now Available

1 Comment

Sample CSA Shares Now Available

1 Comment

Beet and Black Bean Veggie Burgers

Comment

Beet and Black Bean Veggie Burgers

Once upon a time I dreamed of constructing a veggie burger that was strong enough to withstand the grill without crumbling to pieces. Those days are over, now I commit to the stove top and focus on FLAVOR. 

24 ounces of cooked Black Beans (2 cans)
3 Medium Size Beets (or 1 gigantor)
1/4 Cup of Flax Seed
1 Egg
1 Bunch of Green Garlic
4 Carrots

Bring a pot of water to a boil and add the beets. If you have a large beet, cut it into pieces to reduce cooking time. No need to peel. Cook until fork tender, about 30 minutes. Pour the beets into a colander. Run the beets under a trickle of cool water and the skins should slide off in your hand with gentle pressure.

While the beets are boiling grate the carrots into a large bowl. Add finely chopped green garlic. Rinse the black beans well so they are as dry as possible. Add them to the bowl and mash with a potato masher. You can also just put all 3 of these ingredients in a food processor and press GO.

You can flavor this paste with whatever you like. This week I used the juice of 1 lemon, savory, oregano, basil, and salt. After stirring well this is a great time to take a break, and taste! It's a great dip for a chip or veggie!

Add the flax seed and one egg, stir well.

Dice your cooked, peeled beets into small pieces and stir into the bean mixture. At this point add just a small amount of flour (any grain flour will do, or more flax seed if you prefer), to thicken the paste. You want it to be sticky.

Prepare a bowl of half flour and half bread crumbs. (You can sub in any grain or seed that will fry in high heat). Roll the veggie burgers into balls, flatten them, and dip them on both sides into the flour mixture. Then cook on medium high heat with canola (or other high heat) oil. Cook about 2 minutes per side, until browned and crispy.

I ate mine over a bed of spinach and blue cheese.

Comment