24 ounces of cooked Black Beans (2 cans)
3 Medium Size Beets (or 1 gigantor)
1/4 Cup of Flax Seed
1 Egg
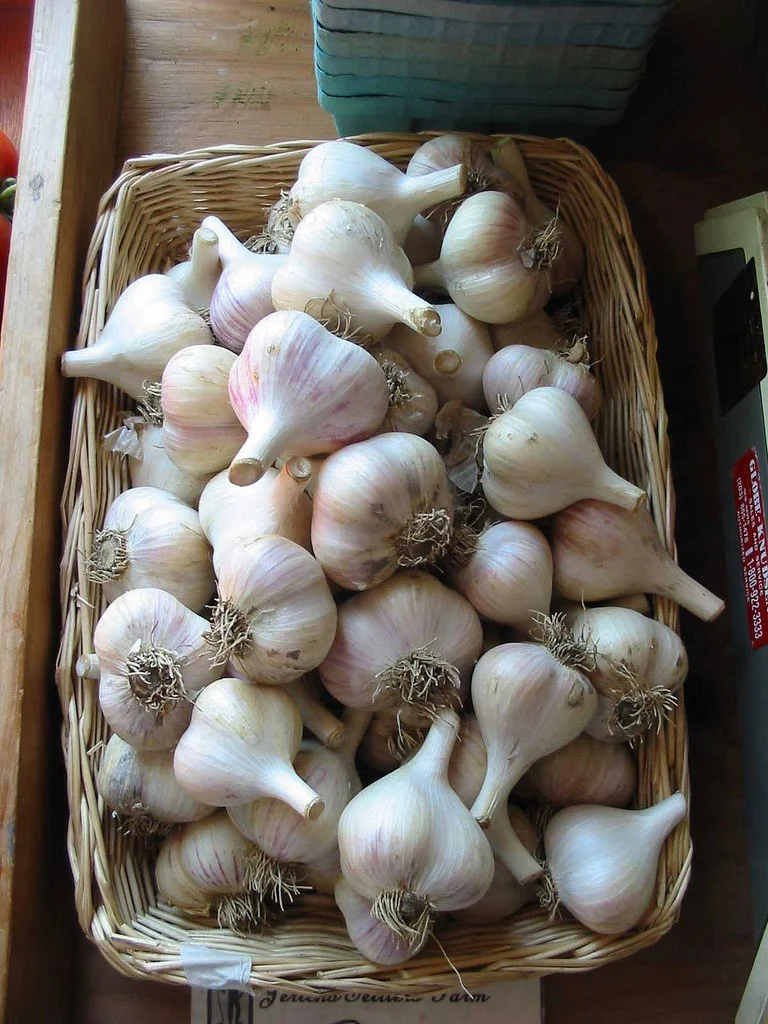
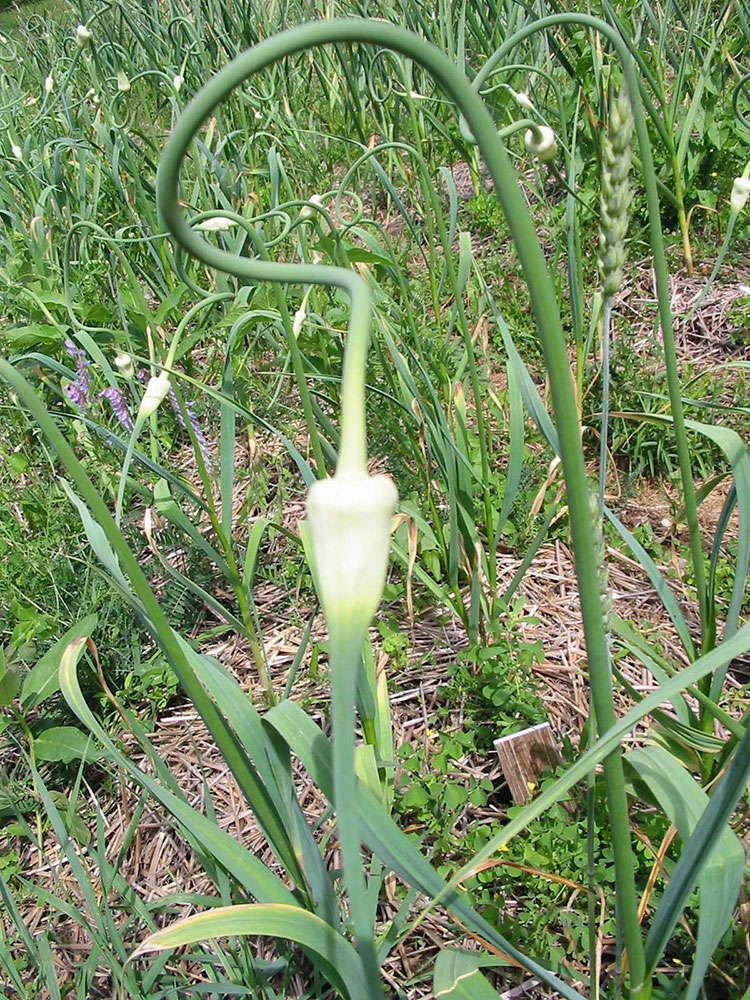
1 Bunch of Green Garlic
4 Carrots
Bring a pot of water to a boil and add the beets. If you have a large beet, cut it into pieces to reduce cooking time. No need to peel. Cook until fork tender, about 30 minutes. Pour the beets into a colander. Run the beets under a trickle of cool water and the skins should slide off in your hand with gentle pressure.
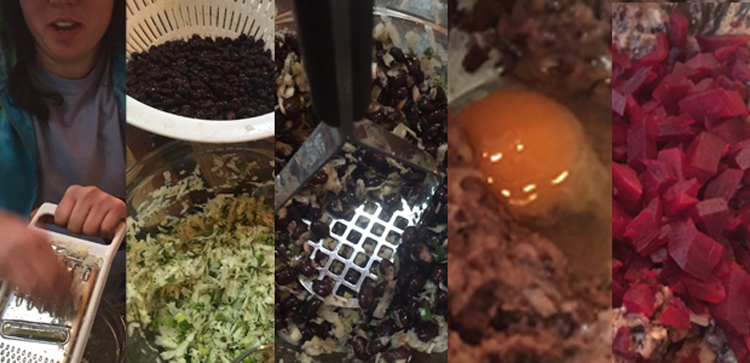
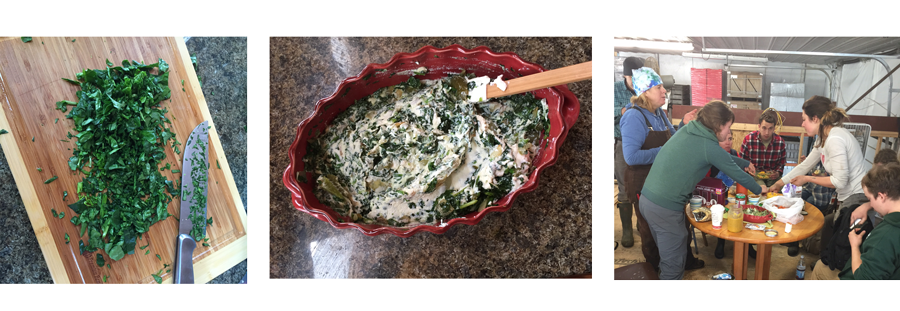
While the beets are boiling grate the carrots into a large bowl. Add finely chopped green garlic. Rinse the black beans well so they are as dry as possible. Add them to the bowl and mash with a potato masher. You can also just put all 3 of these ingredients in a food processor and press GO.
You can flavor this paste with whatever you like. This week I used the juice of 1 lemon, savory, oregano, basil, and salt. After stirring well this is a great time to take a break, and taste! It's a great dip for a chip or veggie!
Add the flax seed and one egg, stir well.
Dice your cooked, peeled beets into small pieces and stir into the bean mixture. At this point add just a small amount of flour (any grain flour will do, or more flax seed if you prefer), to thicken the paste. You want it to be sticky.
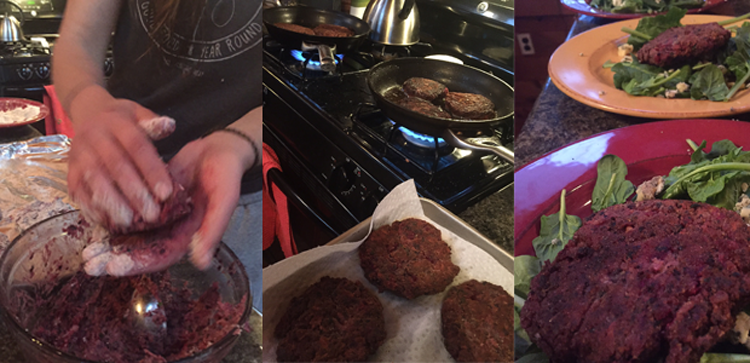
Prepare a bowl of half flour and half bread crumbs. (You can sub in any grain or seed that will fry in high heat). Roll the veggie burgers into balls, flatten them, and dip them on both sides into the flour mixture. Then cook on medium high heat with canola (or other high heat) oil. Cook about 2 minutes per side, until browned and crispy.
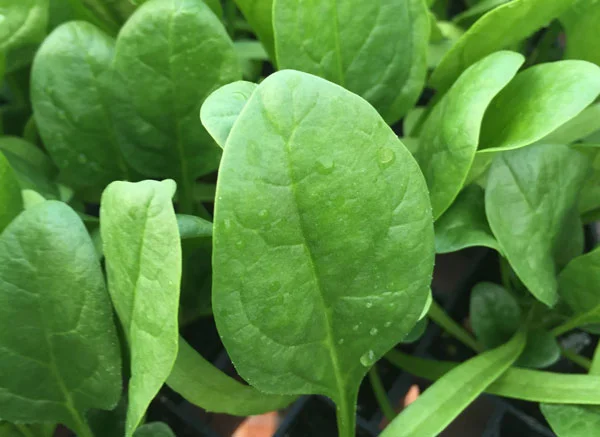
I ate mine over a bed of spinach and blue cheese.