Thanks to an in depth tour from Juliette, our Greenhouse Manager, we have been able to summarize the exciting happenings from the hottest spot on the farm!
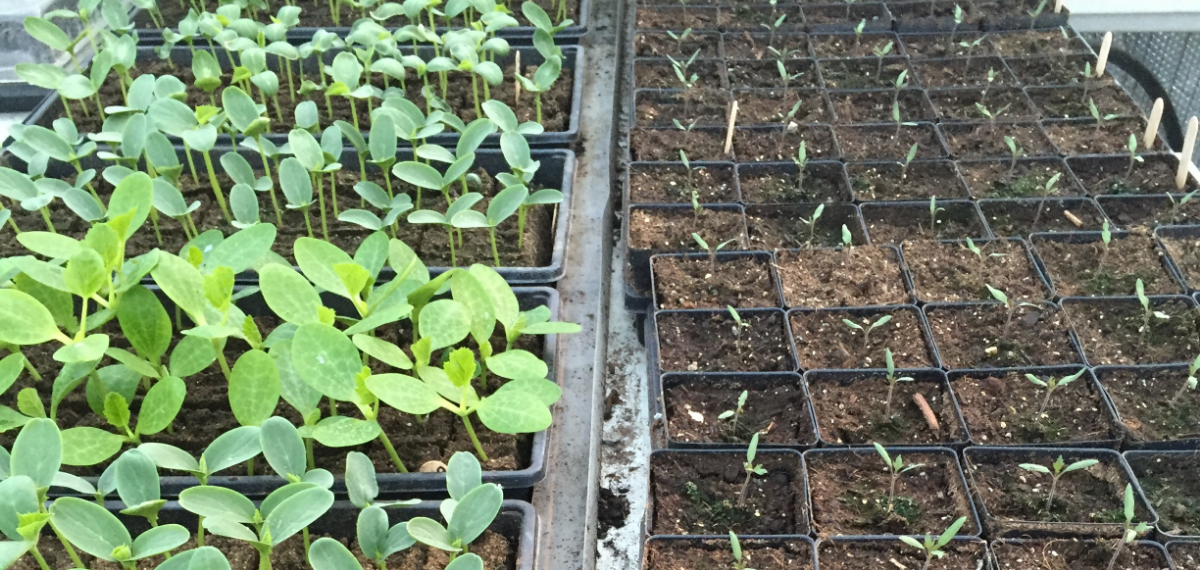
Cucumbers on the left, and Tomatoes on the right
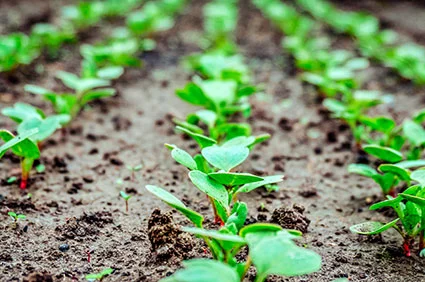
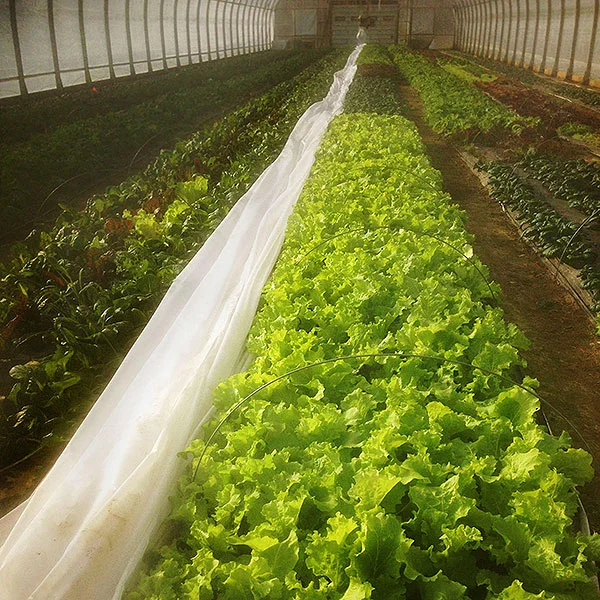
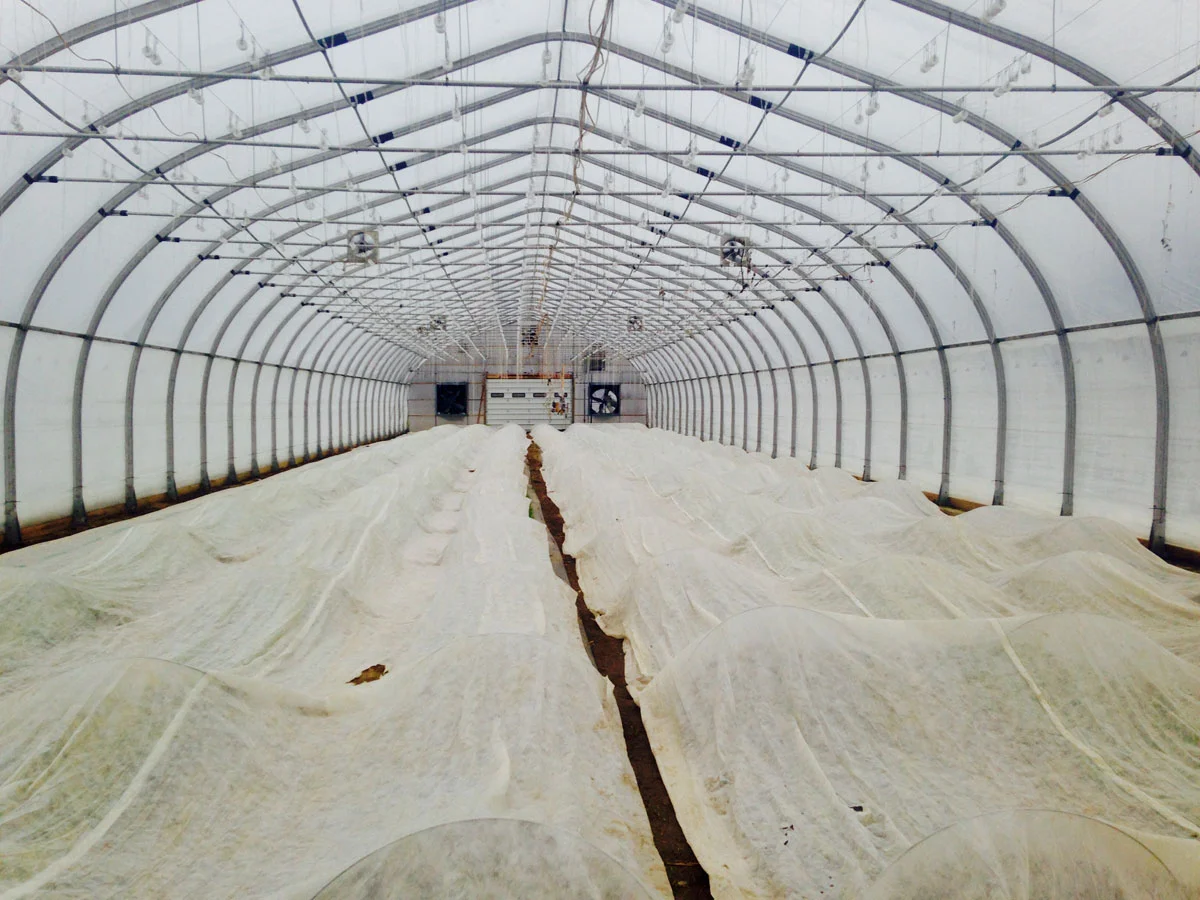
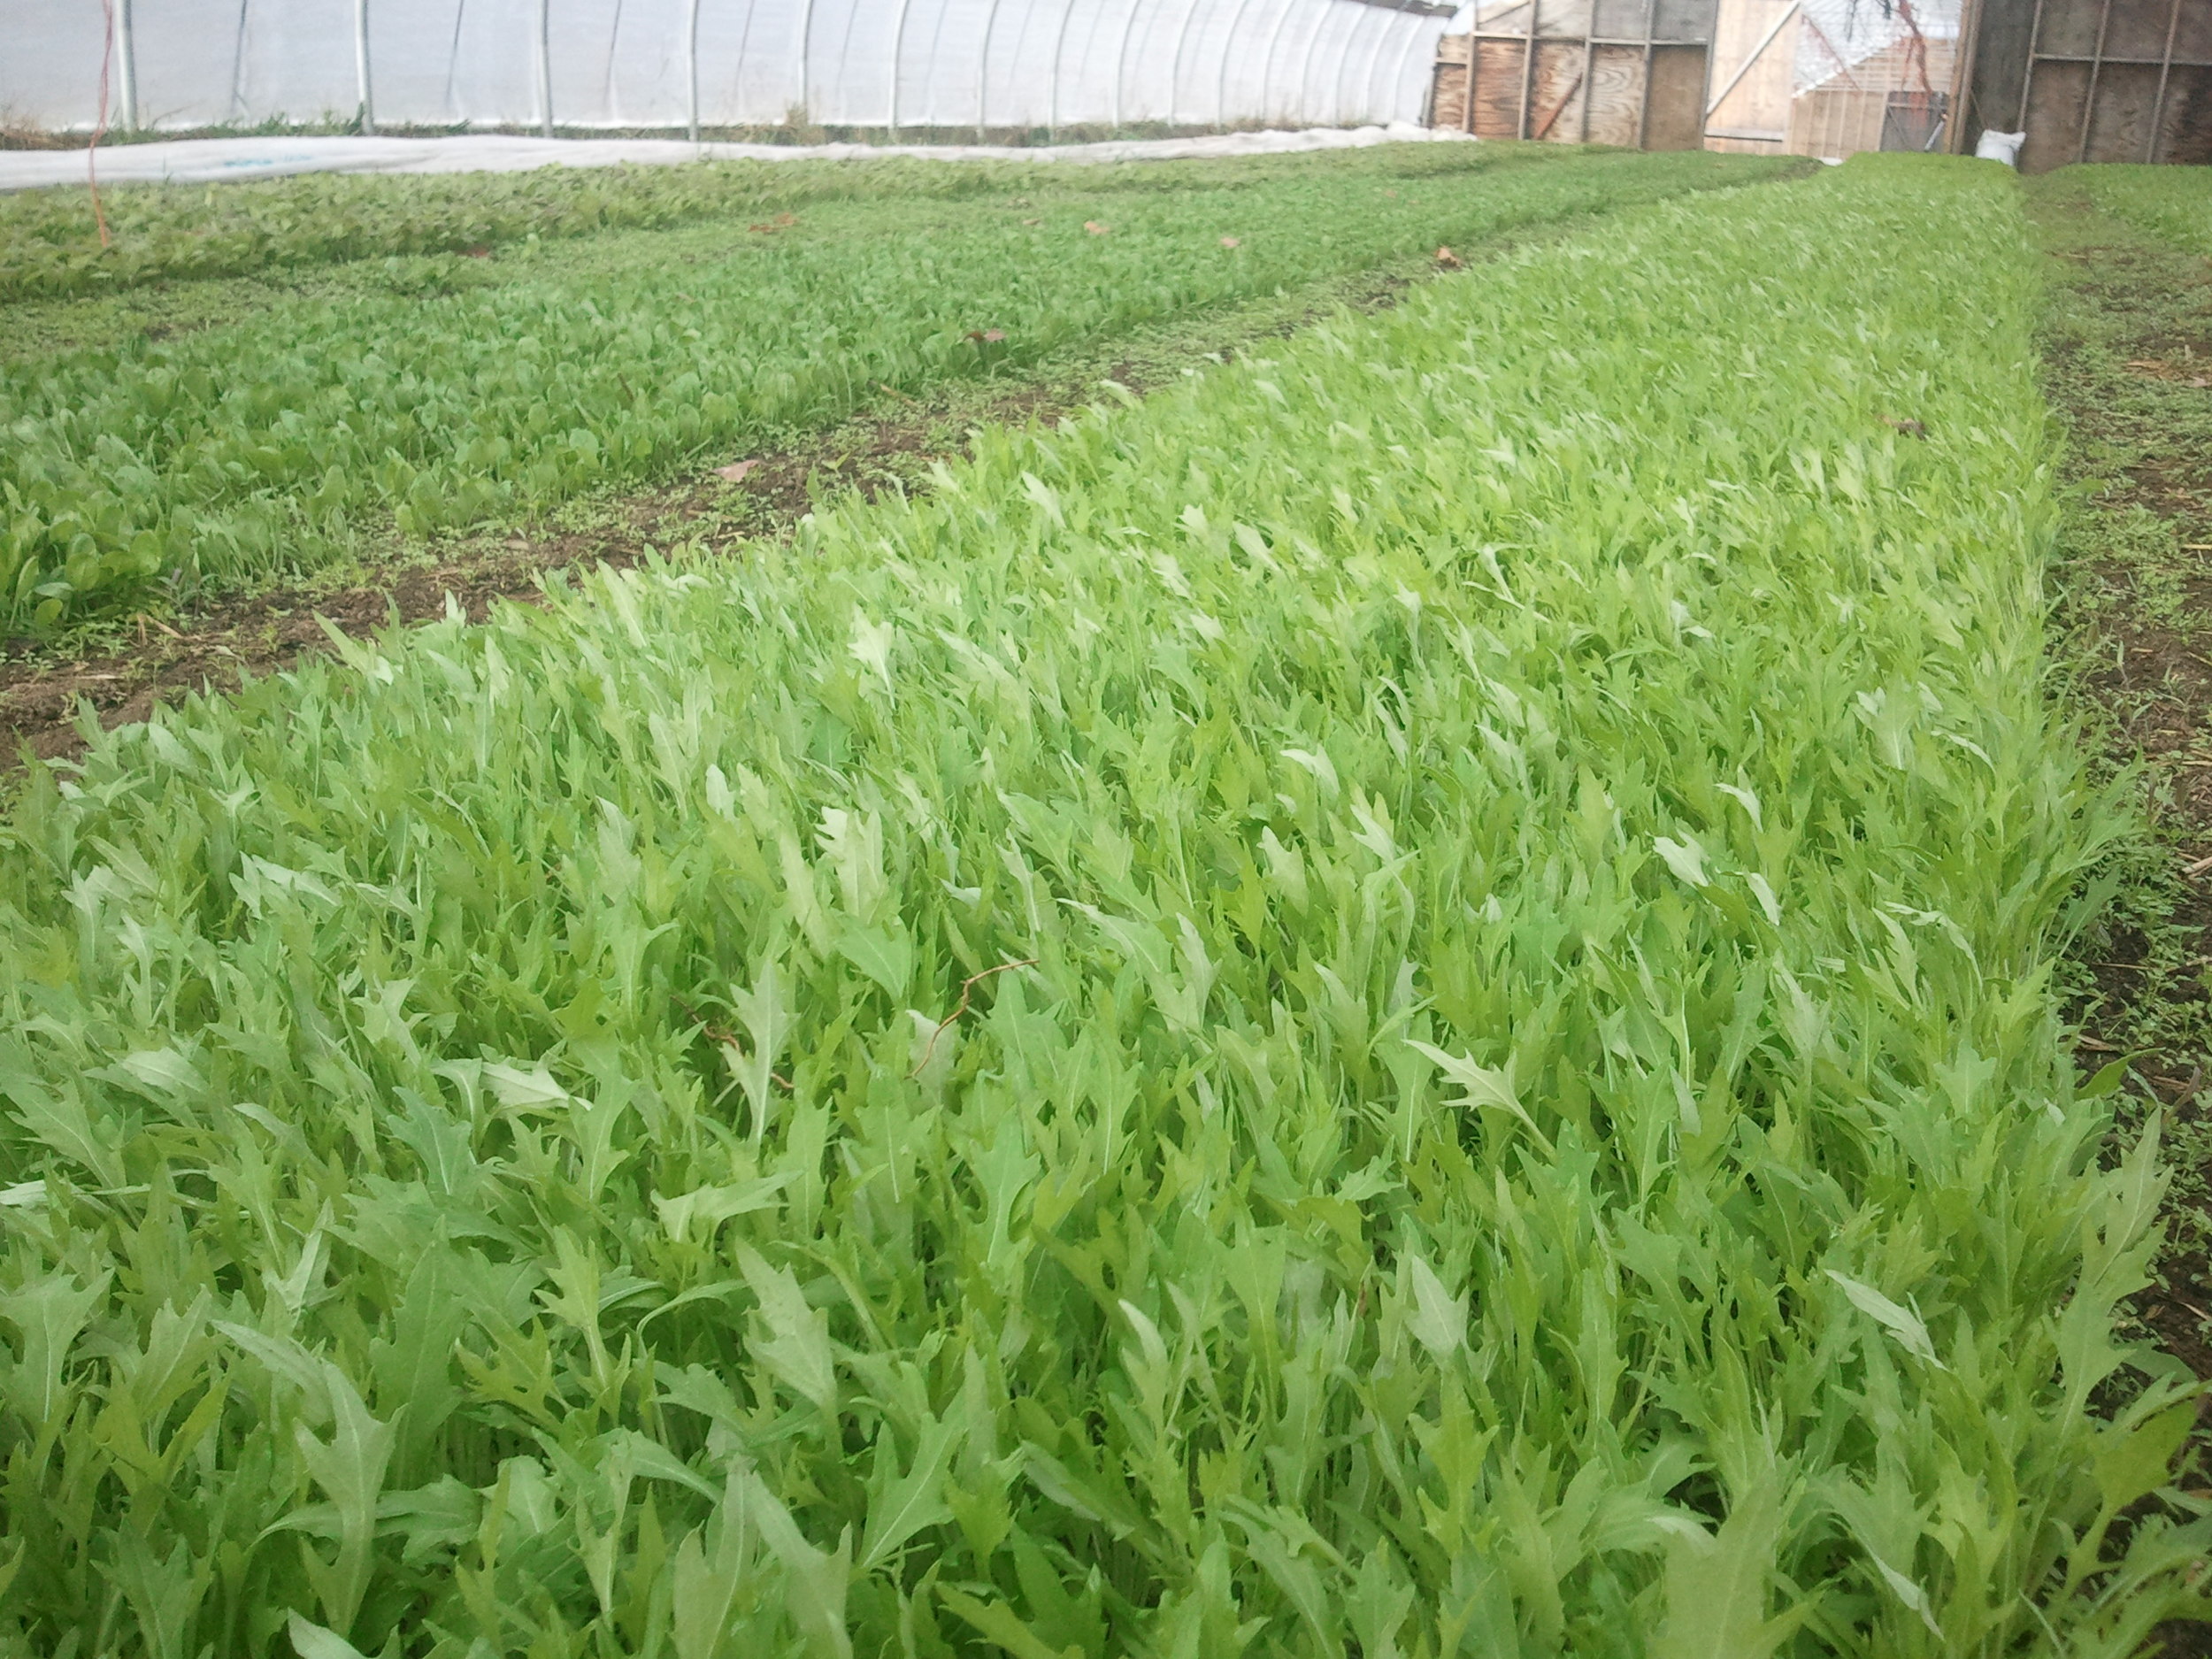
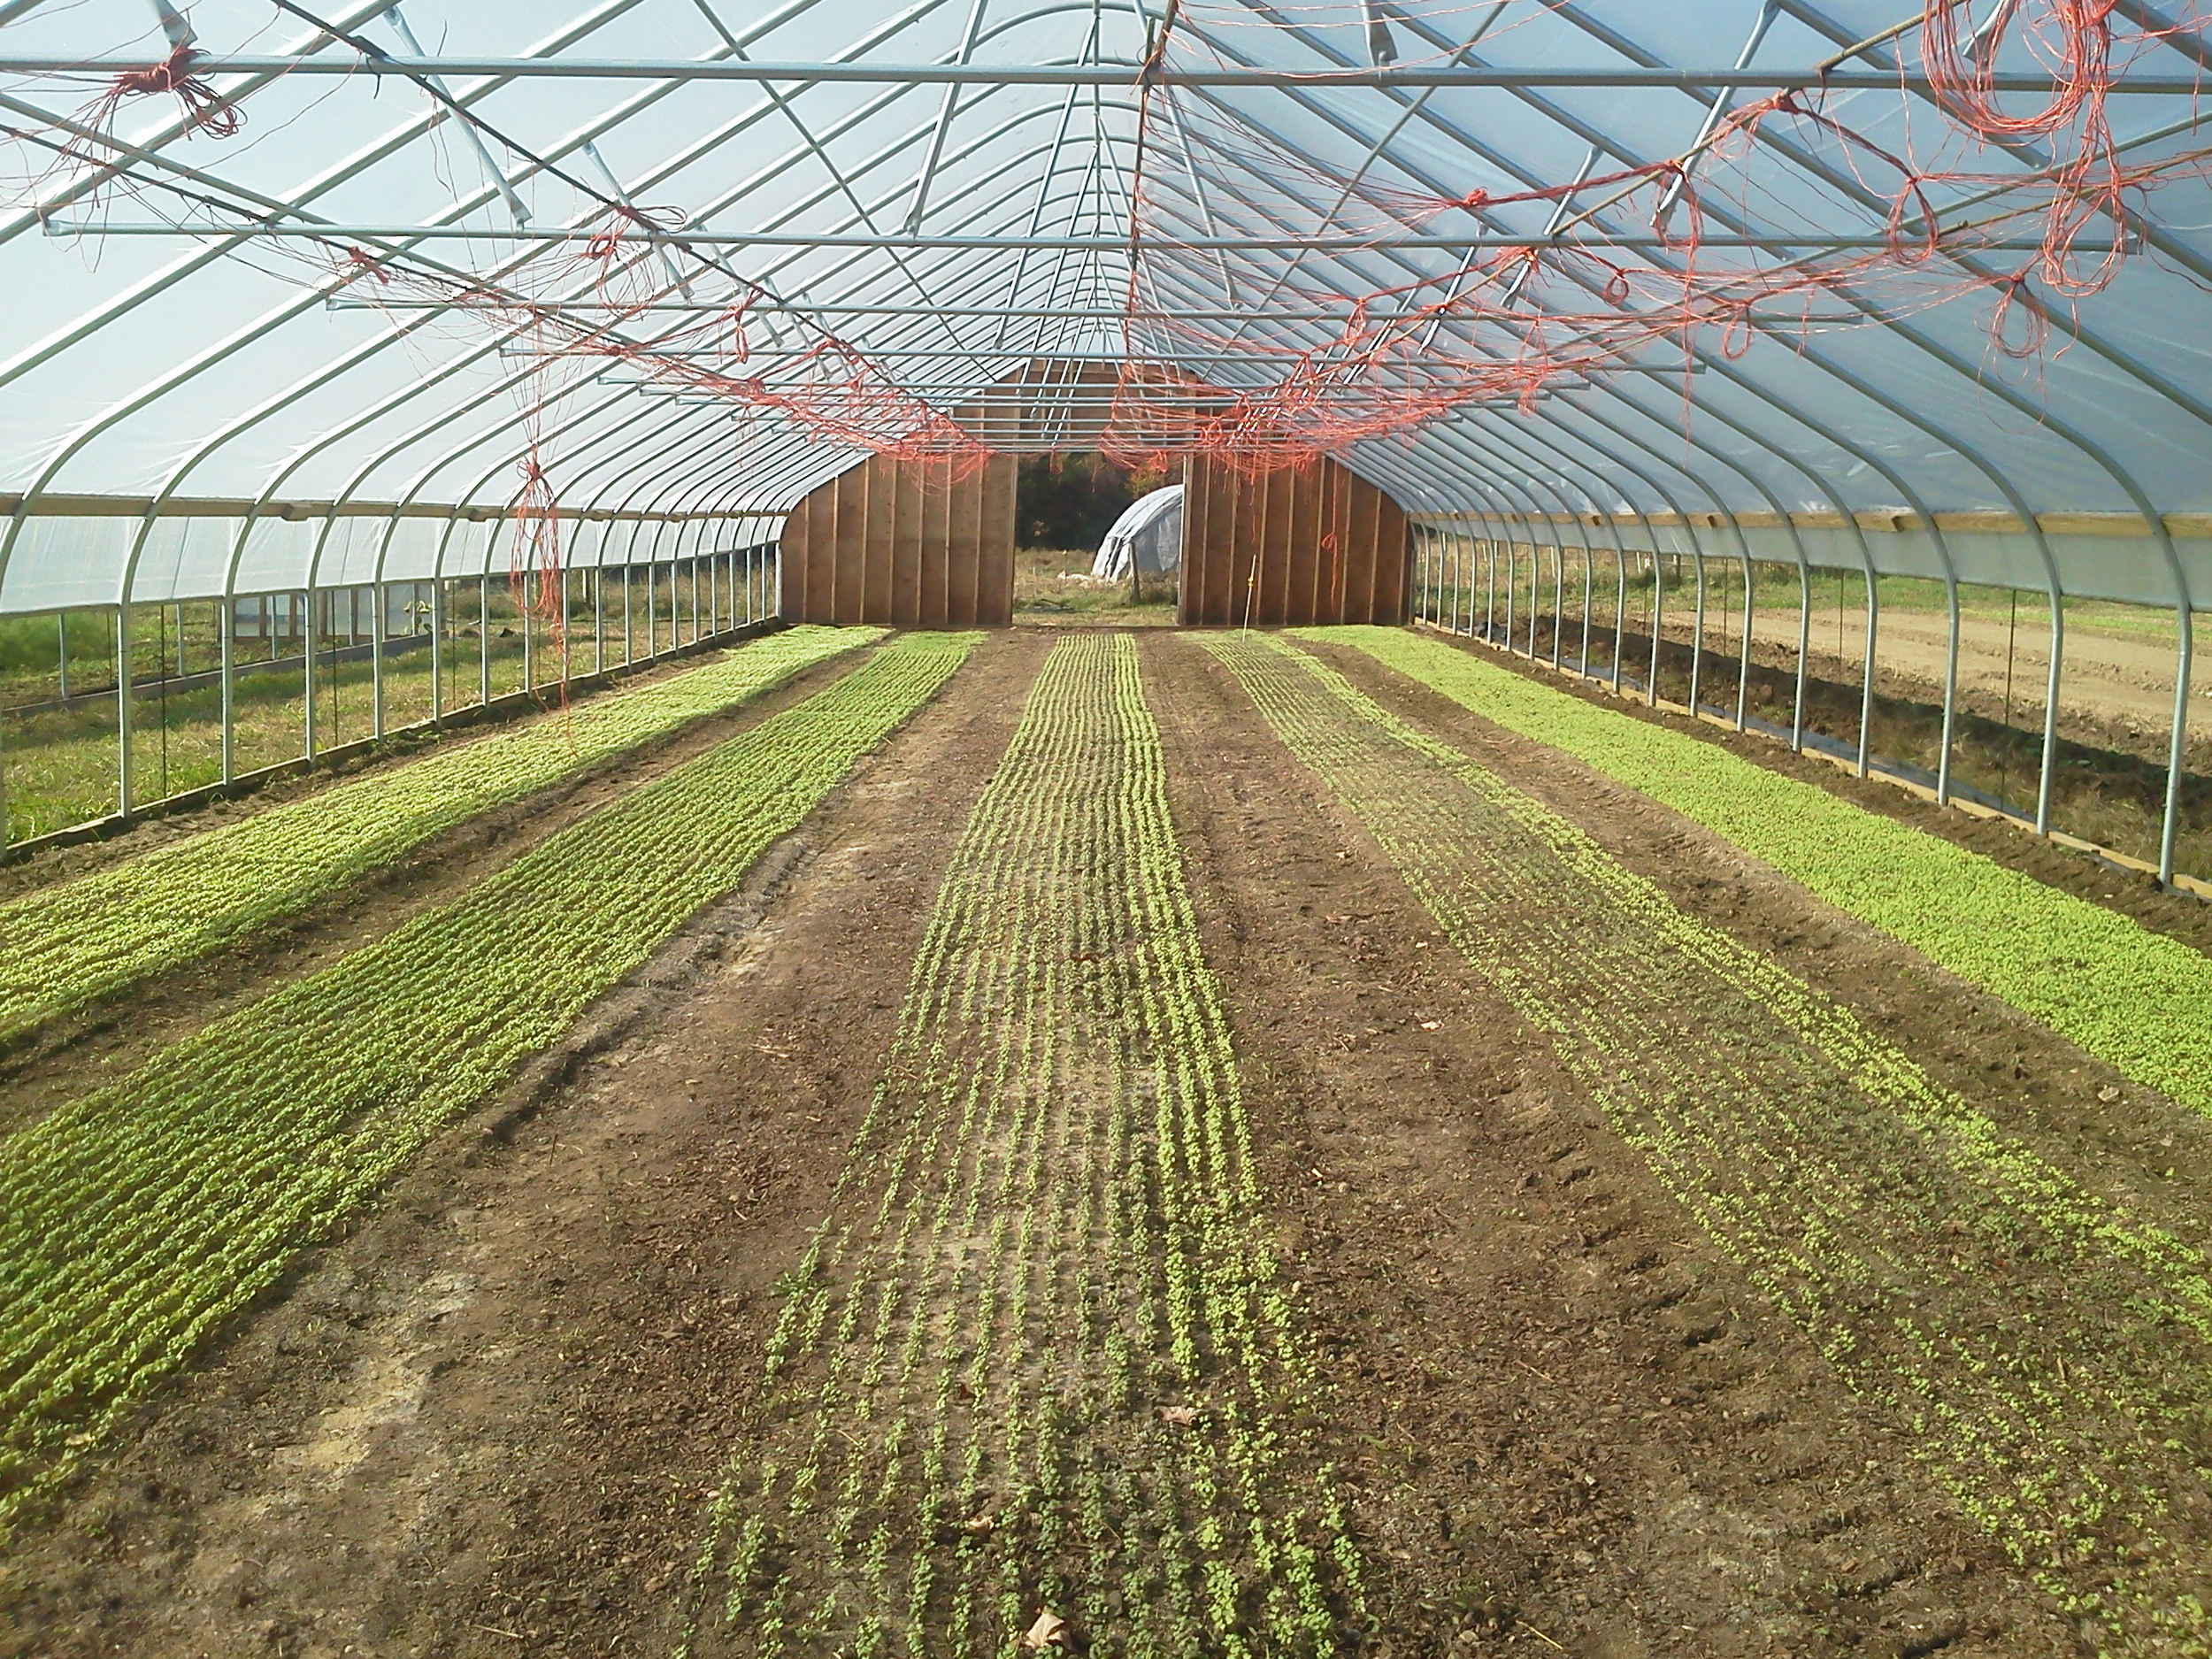
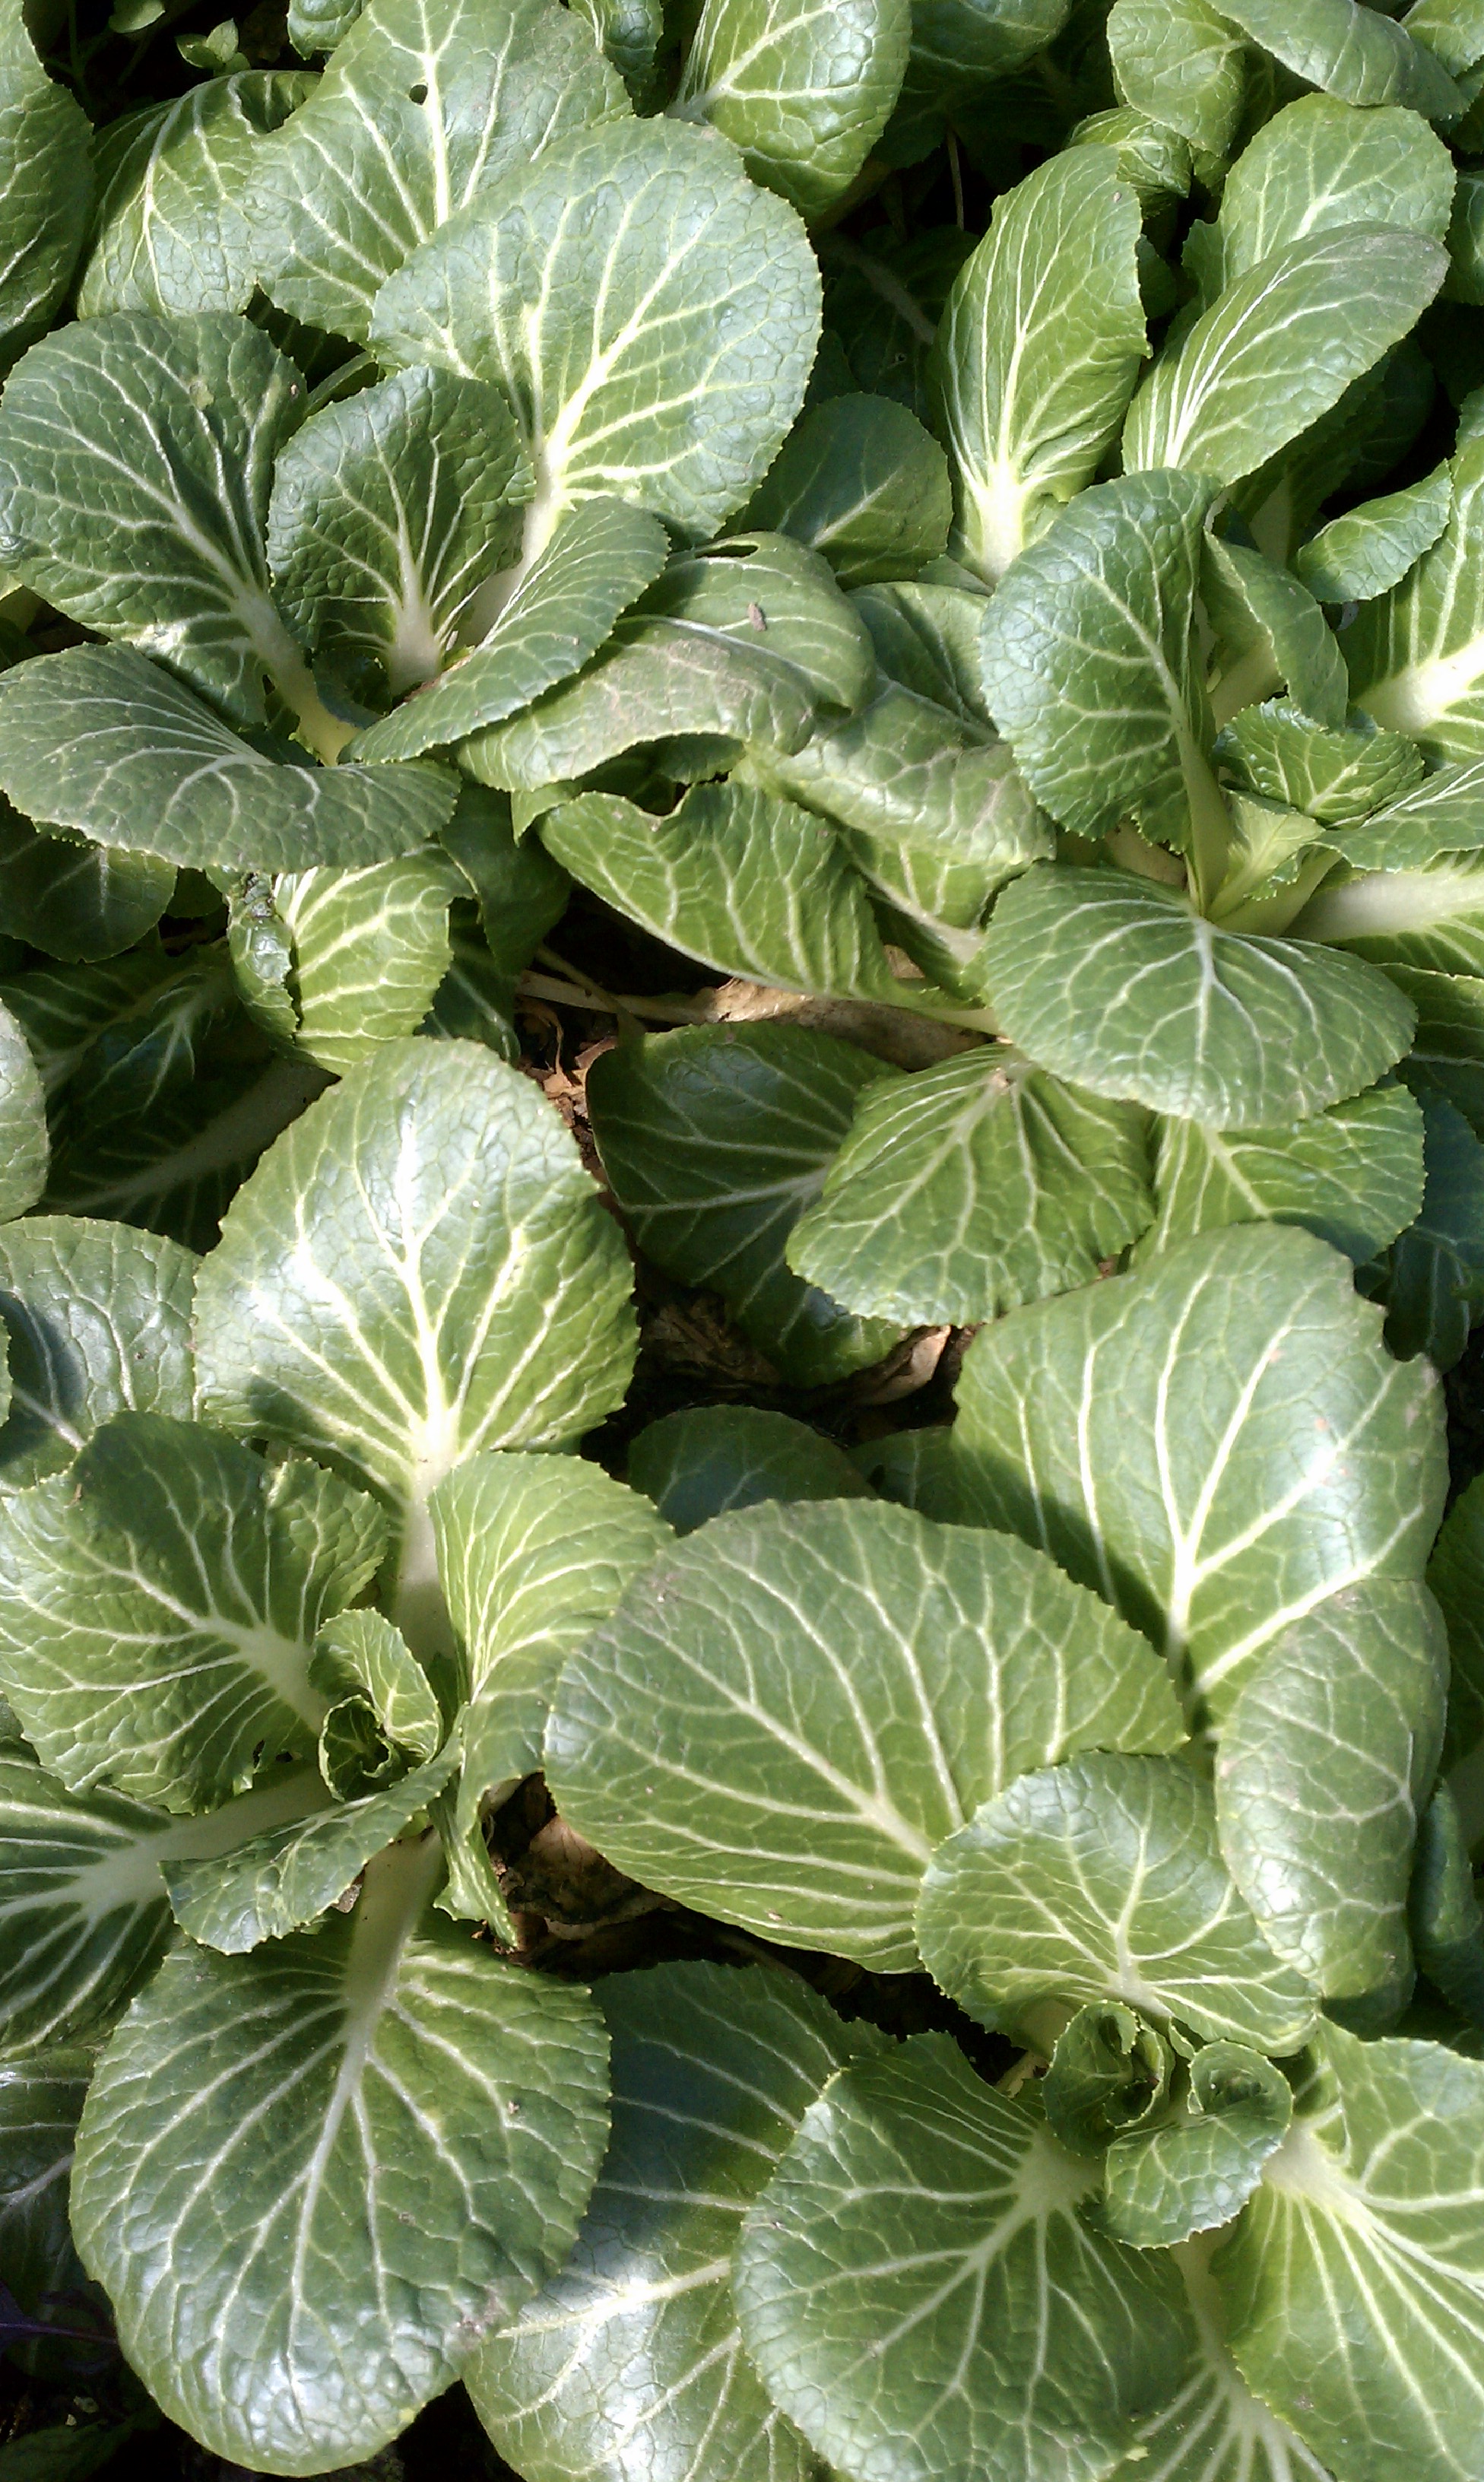
What’s ready to get planted? Head lettuce, pac choi, kale, chard, and cilantro are headed straight for the hoophouses.
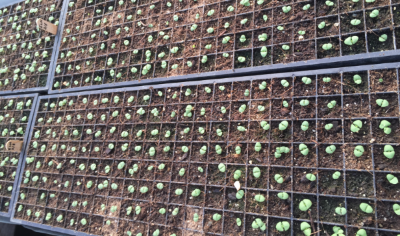
What’s popping up? 6000 basil plants have just germinated!
What’s ready to sprout? 150 trays of onions have been seeded, and will eventually head out to the fields.
Basil Starts
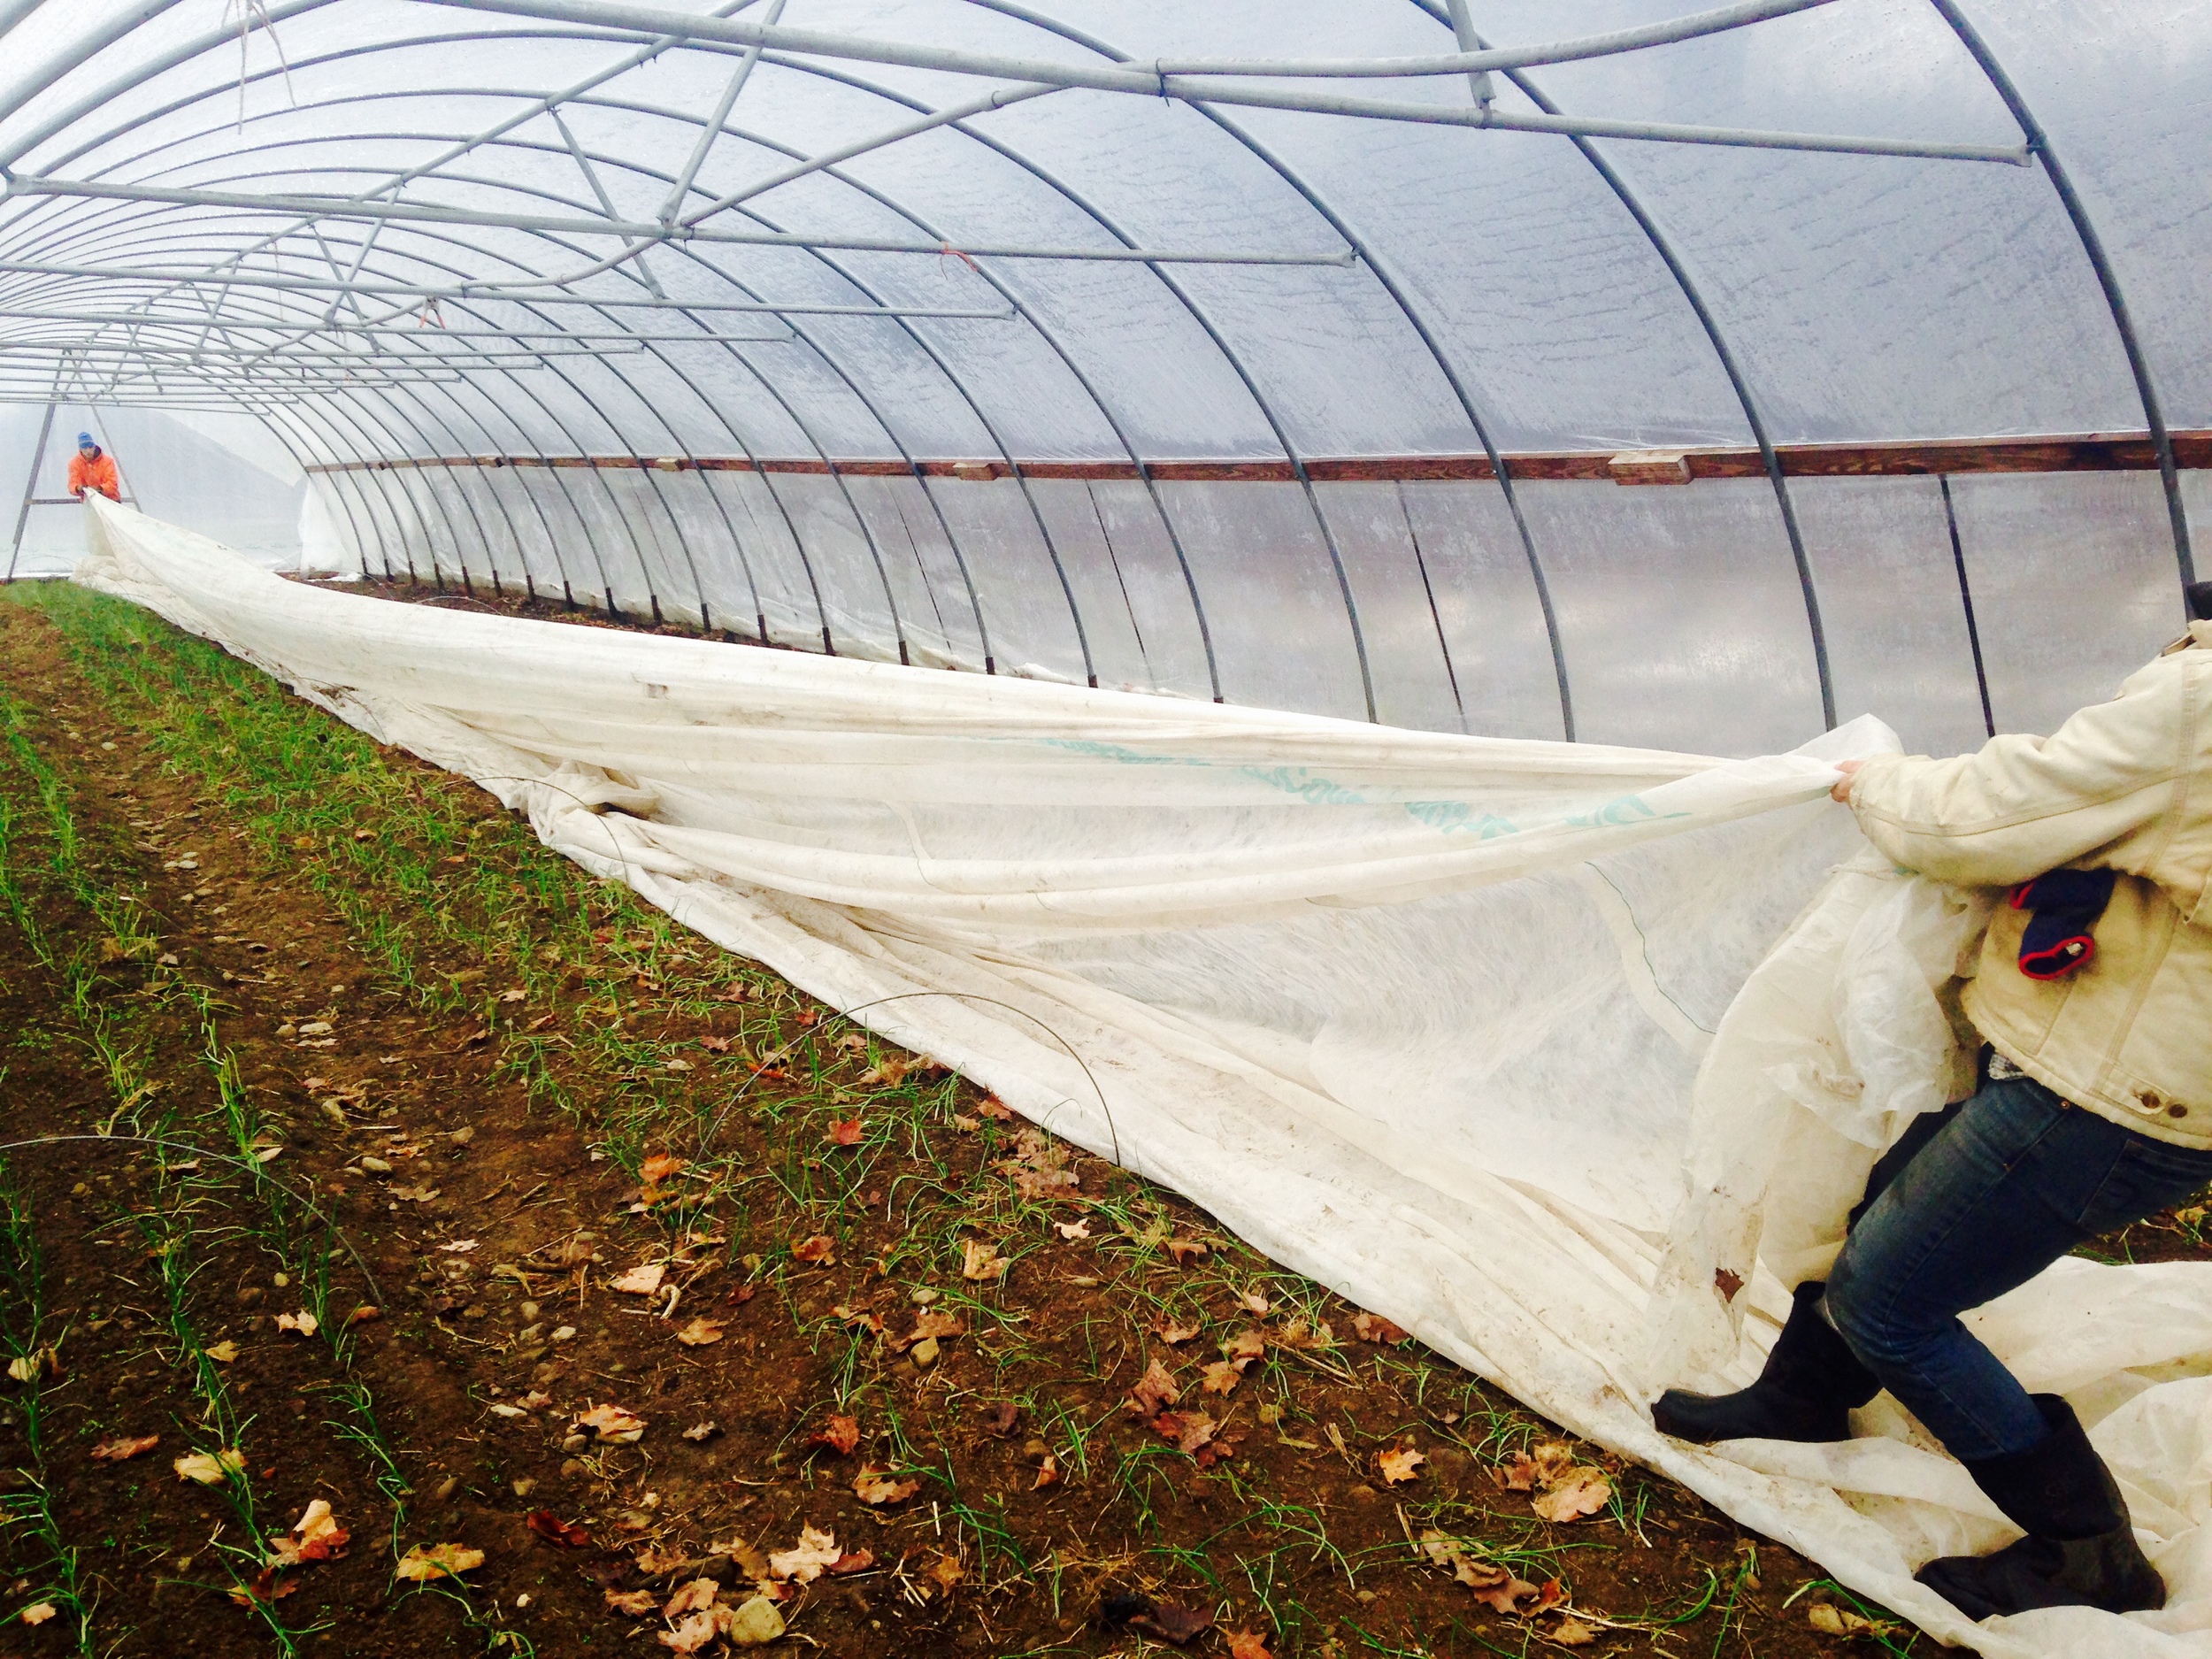
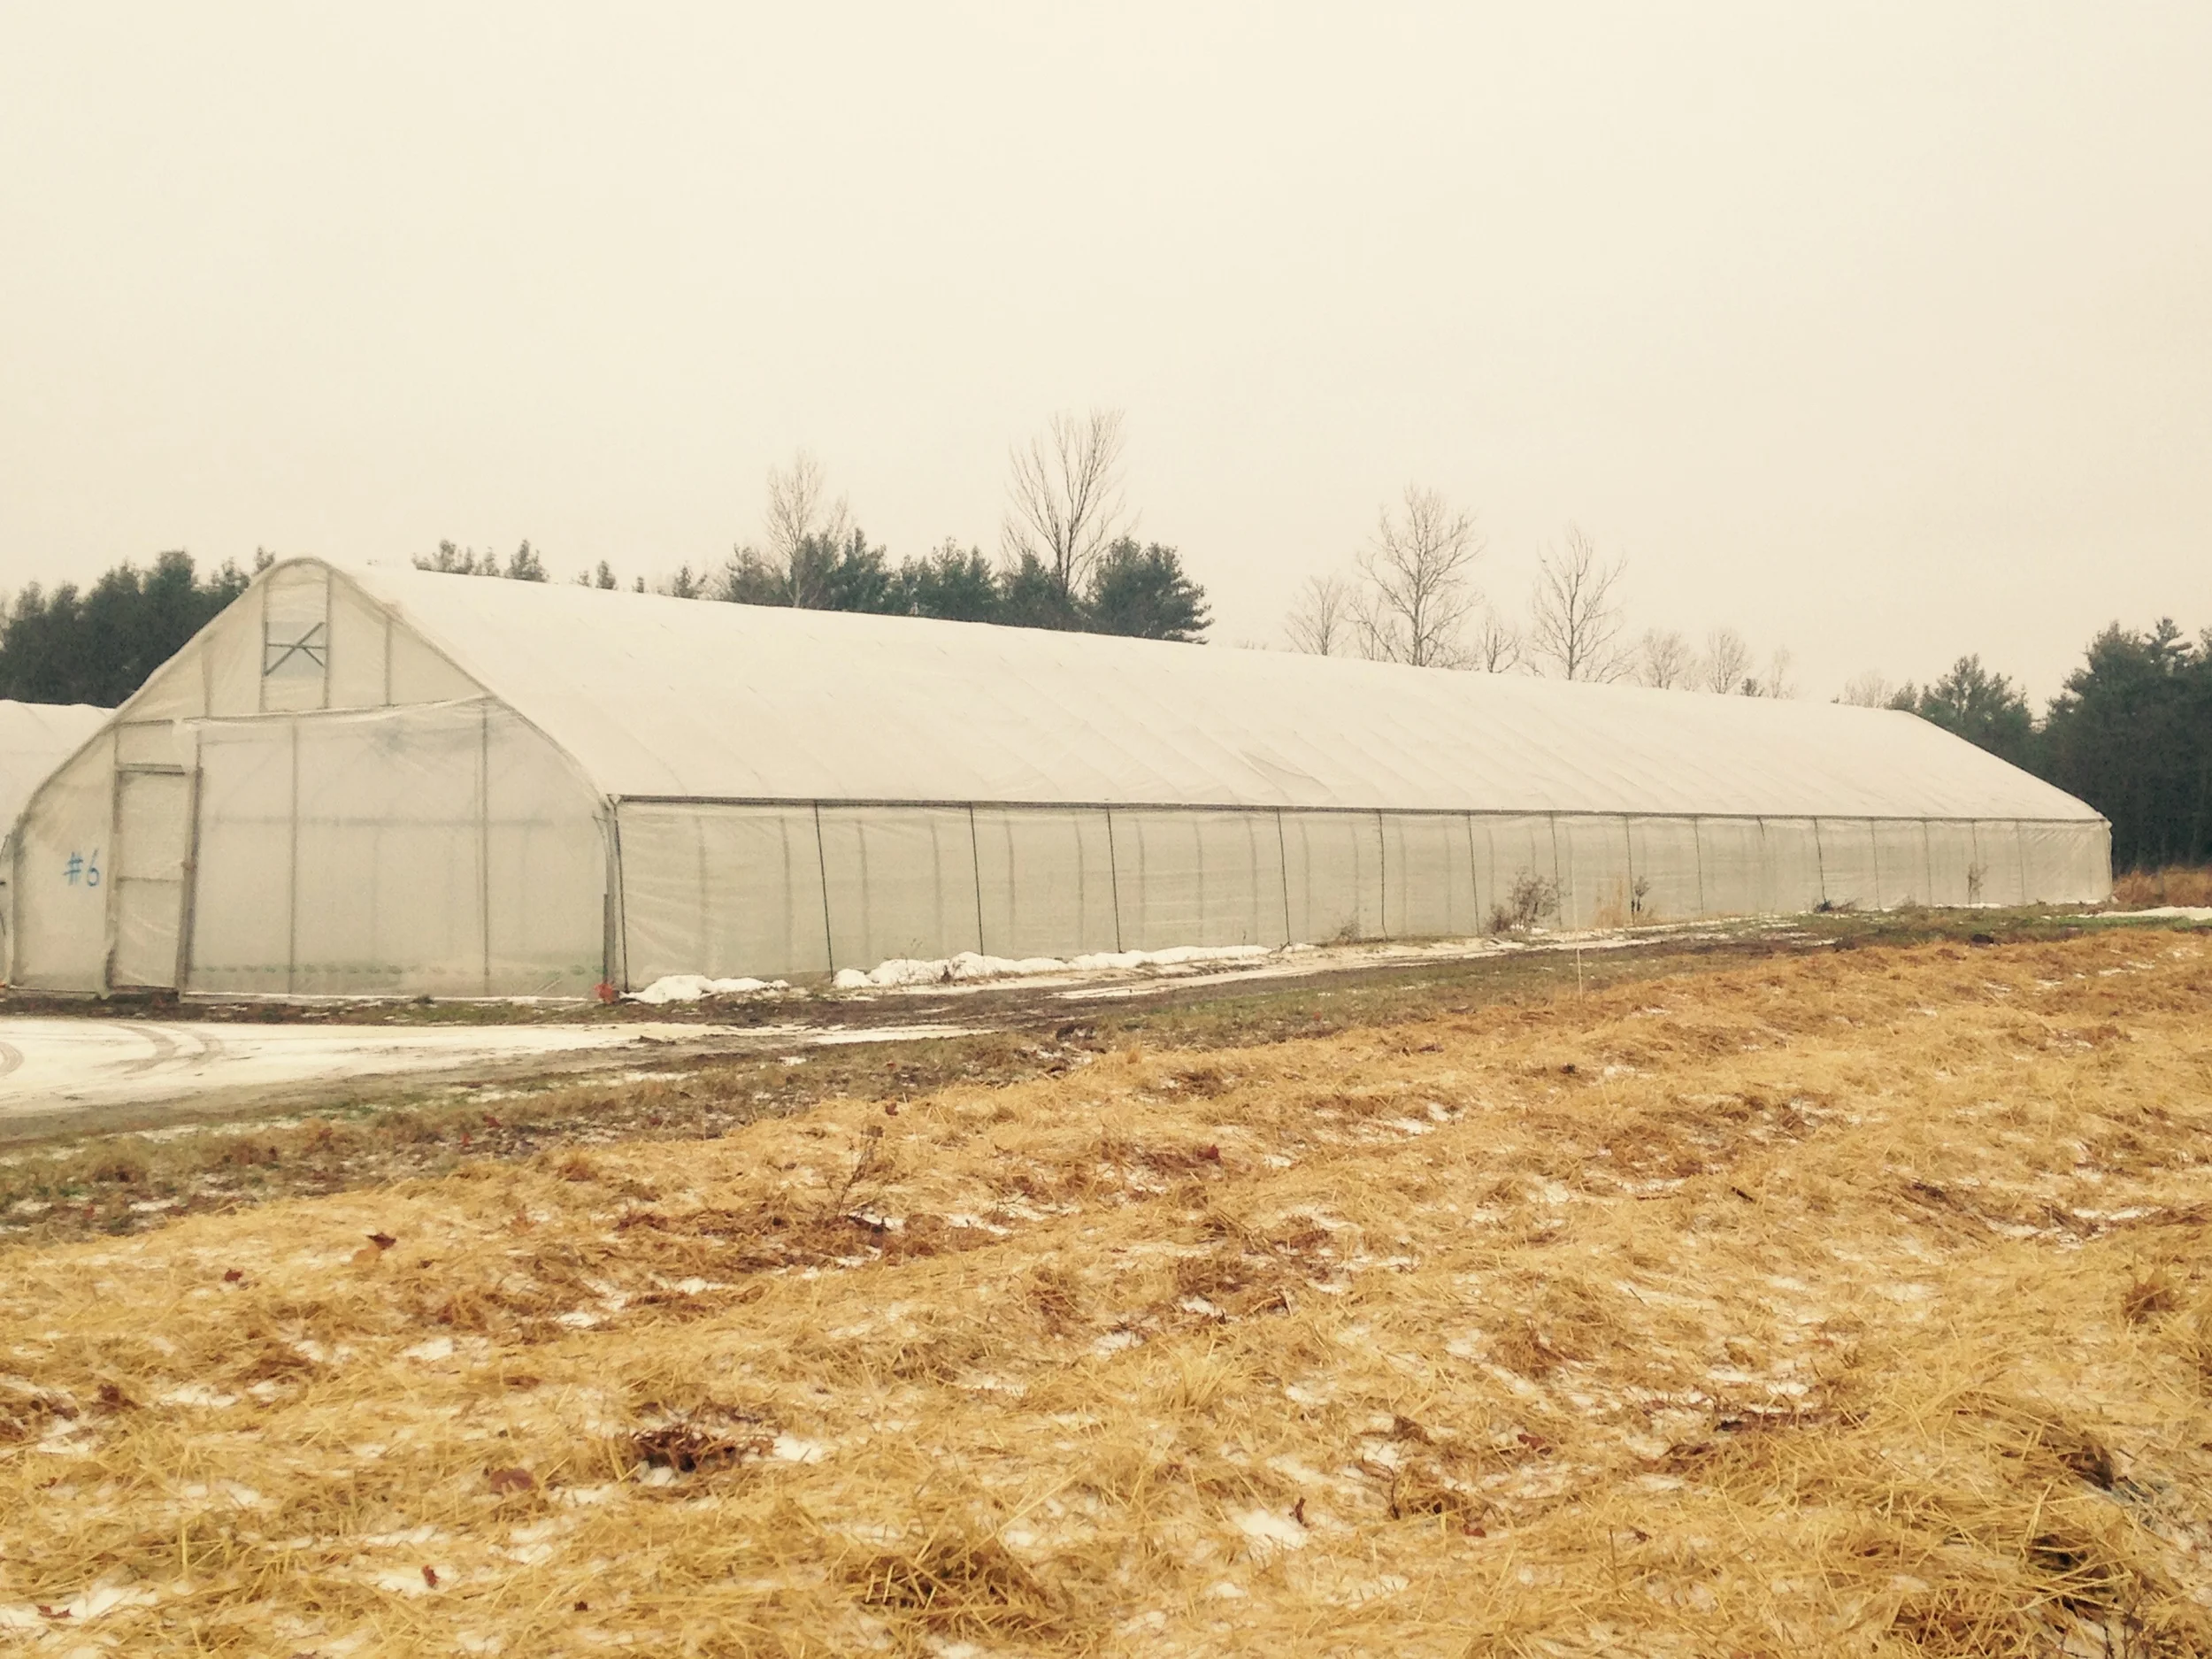
Over the years, improvements to our infrastructure (including two new hoop houses with in-ground heating) have allowed us to start warm weather crops earlier than ever! This enables us to bring tomatoes, cucumbers, basil, and zucchini to our CSA members earlier than ever. We start transplanting the first tomatoes and cucumbers next week.
So what greenhouse toys does Juliette get to play with?
Soil Blocks - Soil blocks are created by pushing wet potting soil into a mold, similar to one you would use to build a sand castle. When plant roots grow to the edge of the soil block, they reach air instead of plastic and thus stay poised at the edge of the block. This decreases root damage during planting, significantly reducing transplant shock.
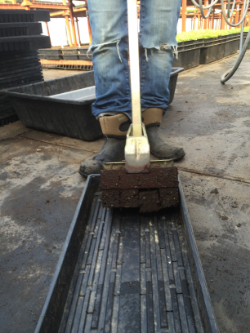
Soil Blocking
Heat Mats – Our heat mats allow us to set specific soil temperatures for our warm weather crops to germinate. While many established plants such as tomatoes and cucumbers do OK with temperatures in the 60s, they require soil temperatures of around 75 degrees or more to germinate. Once our starts have sprouted, they are moved to another part of the greenhouse, so more plants can have their chance on the heat mats.
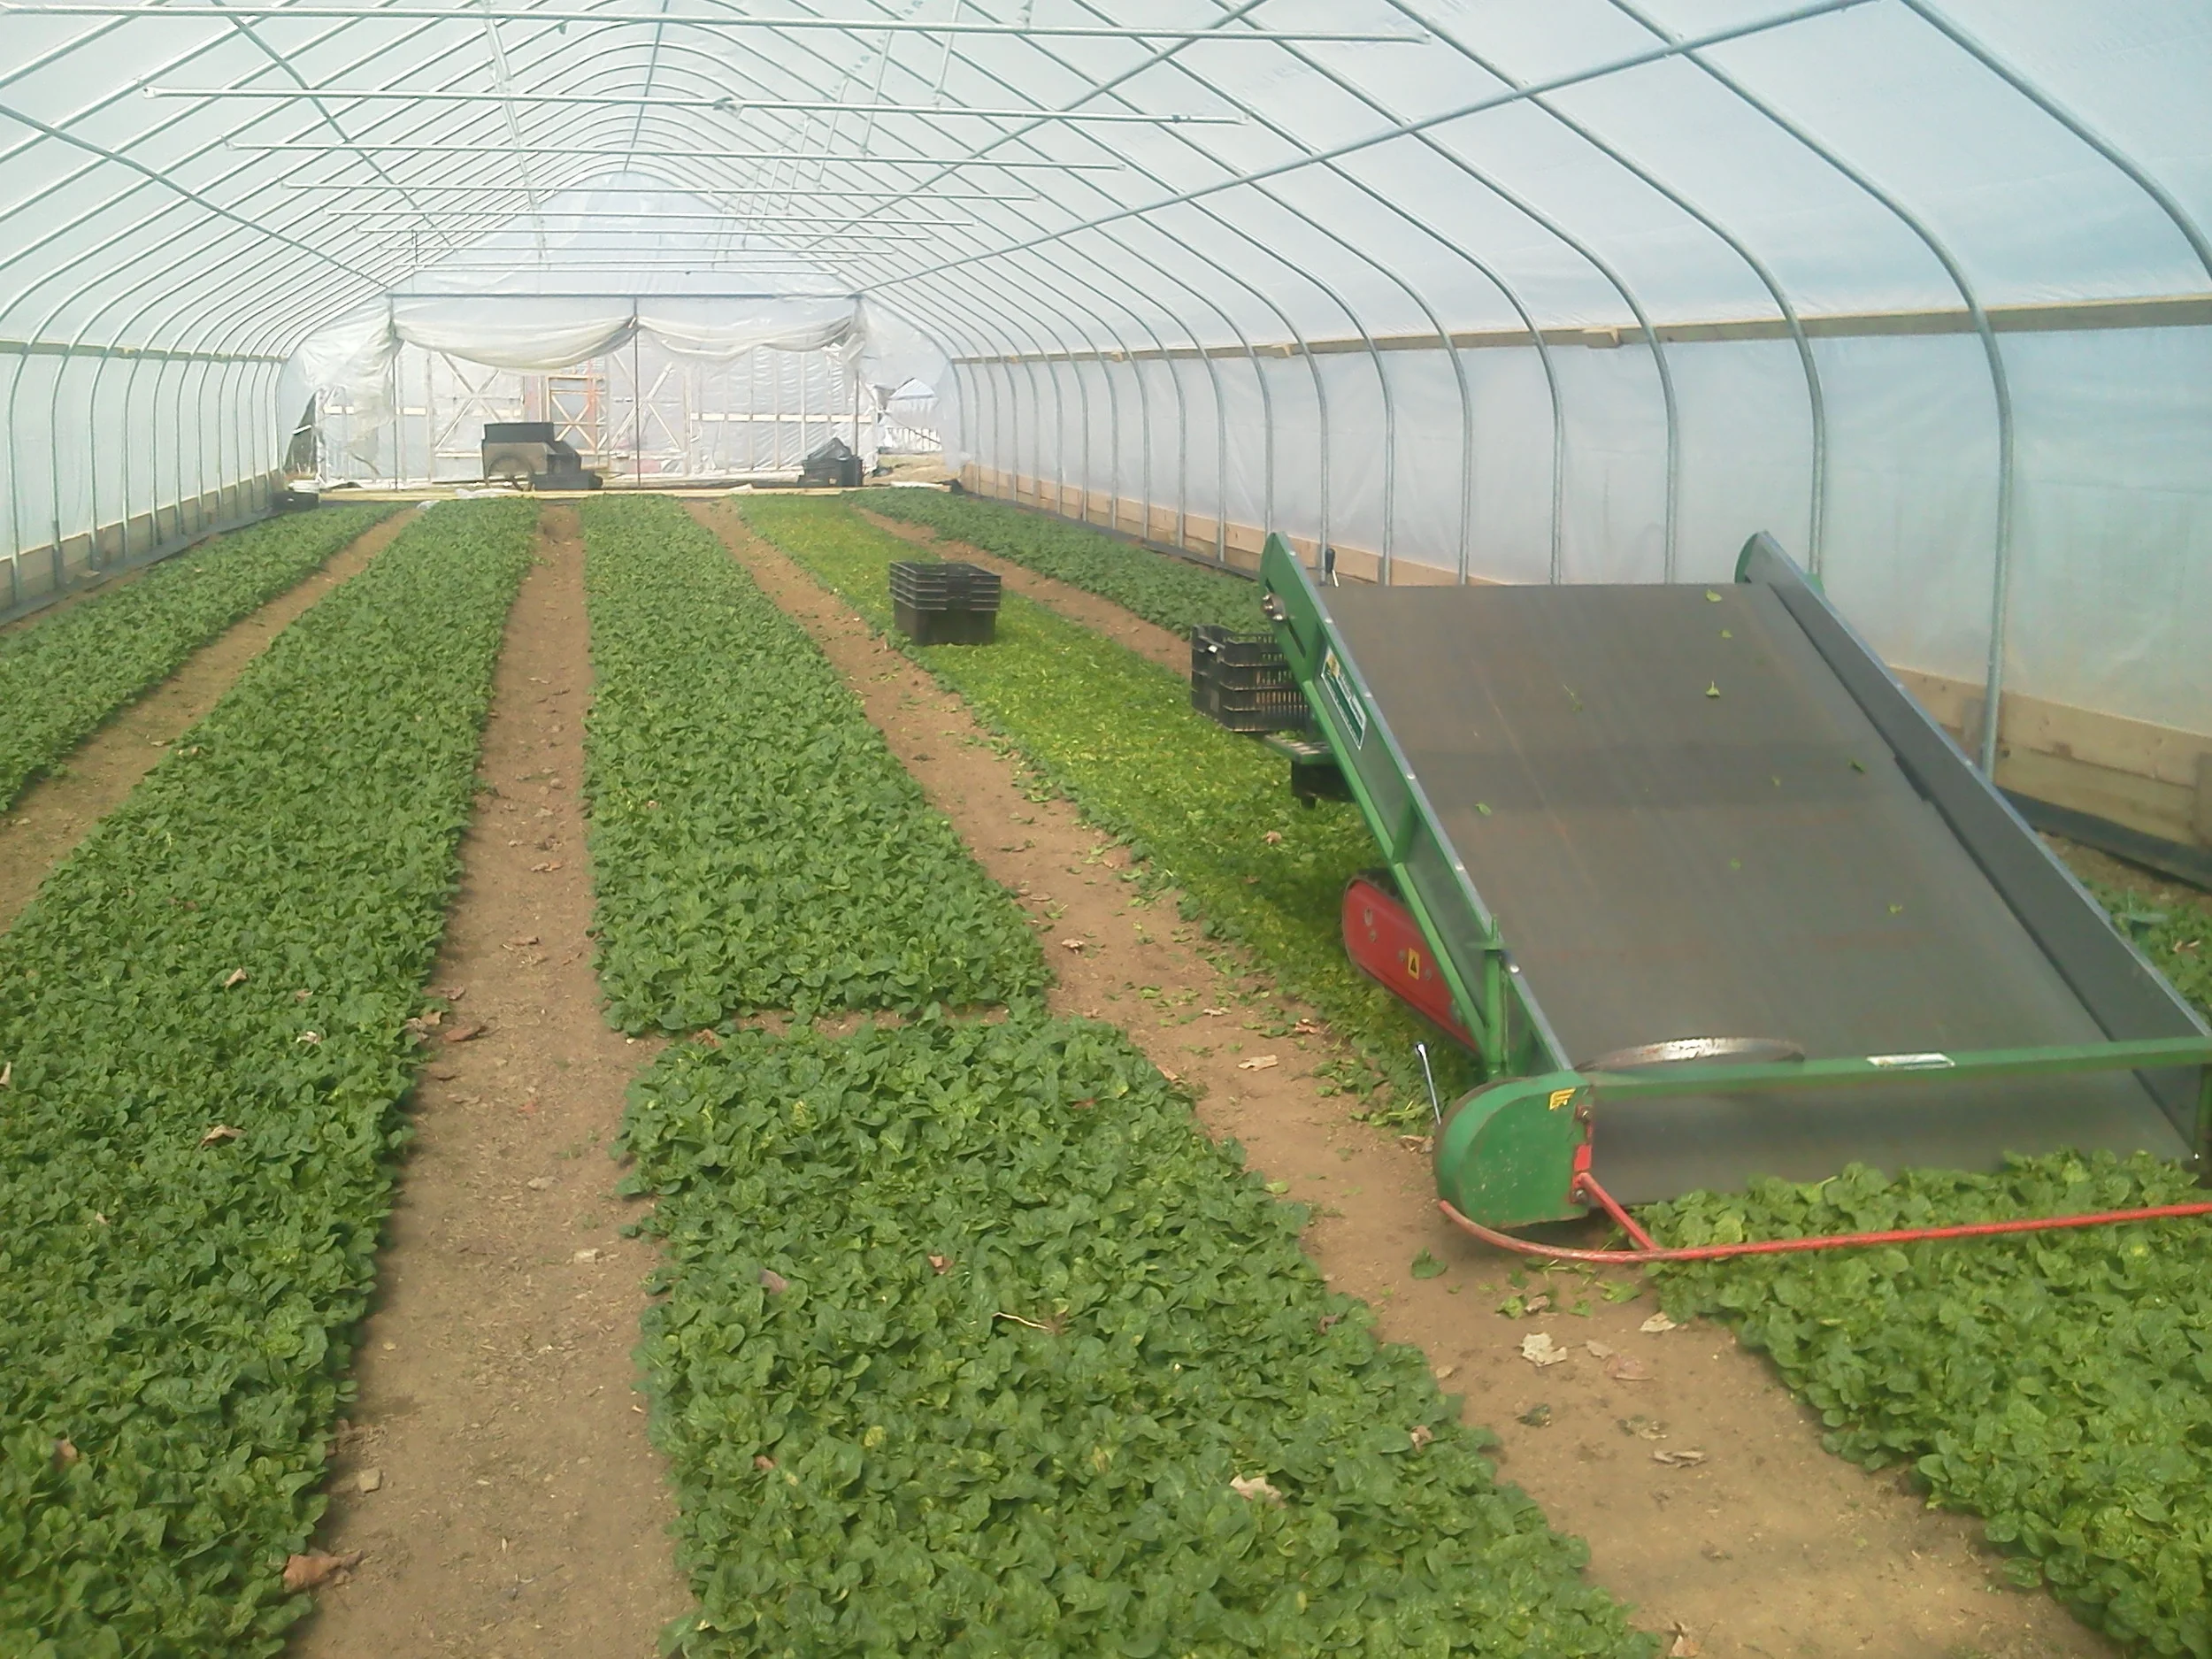
Recirculation Irrigation – A number of years ago we built an irrigation system that bottom-waters our trays of seedlings and uses recycled water. A pump sitting in a large tank full of water propels that water through piping that runs along the greenhouse and up to each table. These pipes can be opened to gently release water onto custom-built table tops. The water slowly seeps past all of the trays on the tables, and eventually flows to a gutter which drains back to the original tank.
This system not only allows us to conserve water, but it also allows us to grow healthier plants by giving them tempered (warmed) water instead of shockingly cold water, and by reducing overhead watering which wets the foliage. Many plants are susceptible to fungi or bacteria when their foliage gets wet. Tomatoes are a prime example of this – which is also why we grow tomatoes in hoophouses with drip (on the soil) irrigation instead of overhead irrigation, as well as keep them well pruned and trellised.
Humidity Chamber – Juliette has started some tomato plants, and in another week, she will start grafting them. Grafting is a technique where we combine a tomato plant whose fruit we love with a tomato plant that is disease resistant. These vigorously growing disease resistant plants take over the roots of the plants, or root stock, while the fruit will still be the flavor, size, and color of our fruit stock.
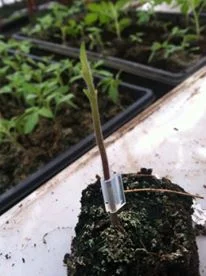
A Freshly Grafted Tomato Plant
When we graft we literally cut the plants with a razor and attach them together with silicone clips. In order for the two plants to bond and become one they both need to be kept very moist. However, as we all know, when we have a cut our number one job is to stop it from getting infected. So we can’t water the plants for a few days because we want to keep the wounds clean, but we have to keep them wet. To address this we use a combination of humidity domes and a humidity chamber. The plastic domes retain moist air around the plants long enough to allow the plants to bond!