
There are countless ways to cook a chicken. Roast it, grill it, stuff it, brine it. But the best way to finish off any bird is by carving it simply and effectively. You only need 2 knives to do this correctly. A sharp, small, boning knife will be the best tool for the majority of this procedure. A sharp chef's knife is useful for slicing the breast.
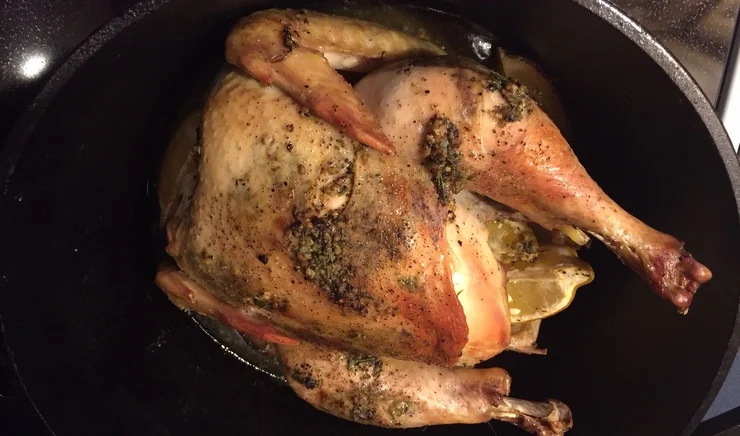
1) Check Done-ness
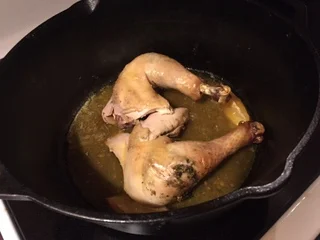
When the breast reads 165 degrees F, remove the legs. Take the bird onto a cutting board, and cut along the thigh where the leg connects to the bird. When you get down to the bone, cut the joint between the thigh and the body while pulling back on the drumstick. Put the legs back into the cast iron/grill/oven/stovetop until they too read 165 degrees.
2. Allow to Cool. Let the bird rest at least until the legs are finished cooking. This will prevent the juices from leaving the bird, and will help keep the breast juicy. After at least 20 minutes, cut a straight line down the spine. You will be cutting one on each side. You will then move on to the wings to allow the breast to cool a bit.

3. Wings. Gently pull back the wings so you can see the seam where they connect to the body of the bird. Cut along that seam until you can see the bone. Then gently cut the joint between the bones while pulling back on the wing with your nondominant hand.

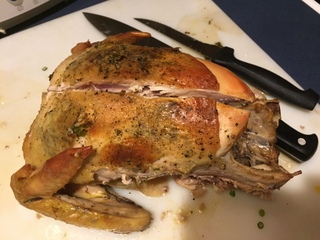
4. The Breast. Cut along the side of the spine while pulling back with your fingers. Your goal is to do a combination of pulling and cutting to release the breast in one large piece.
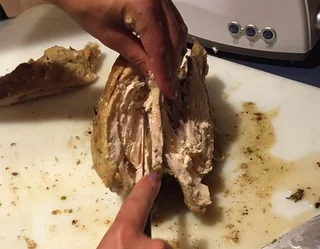
Here you can see the right side of the bird, which has already been carved, and the left side of the bird, where the breast is almost fully off of the body.

5. Finish. Once you have cut the breast off of the bird, you will take a larger chef's knife to finish. Cut against the grain with even spaced slices. Once you have cut the breast, scoop the entire sliced piece onto your knife, and gently place it on your serving platter.